

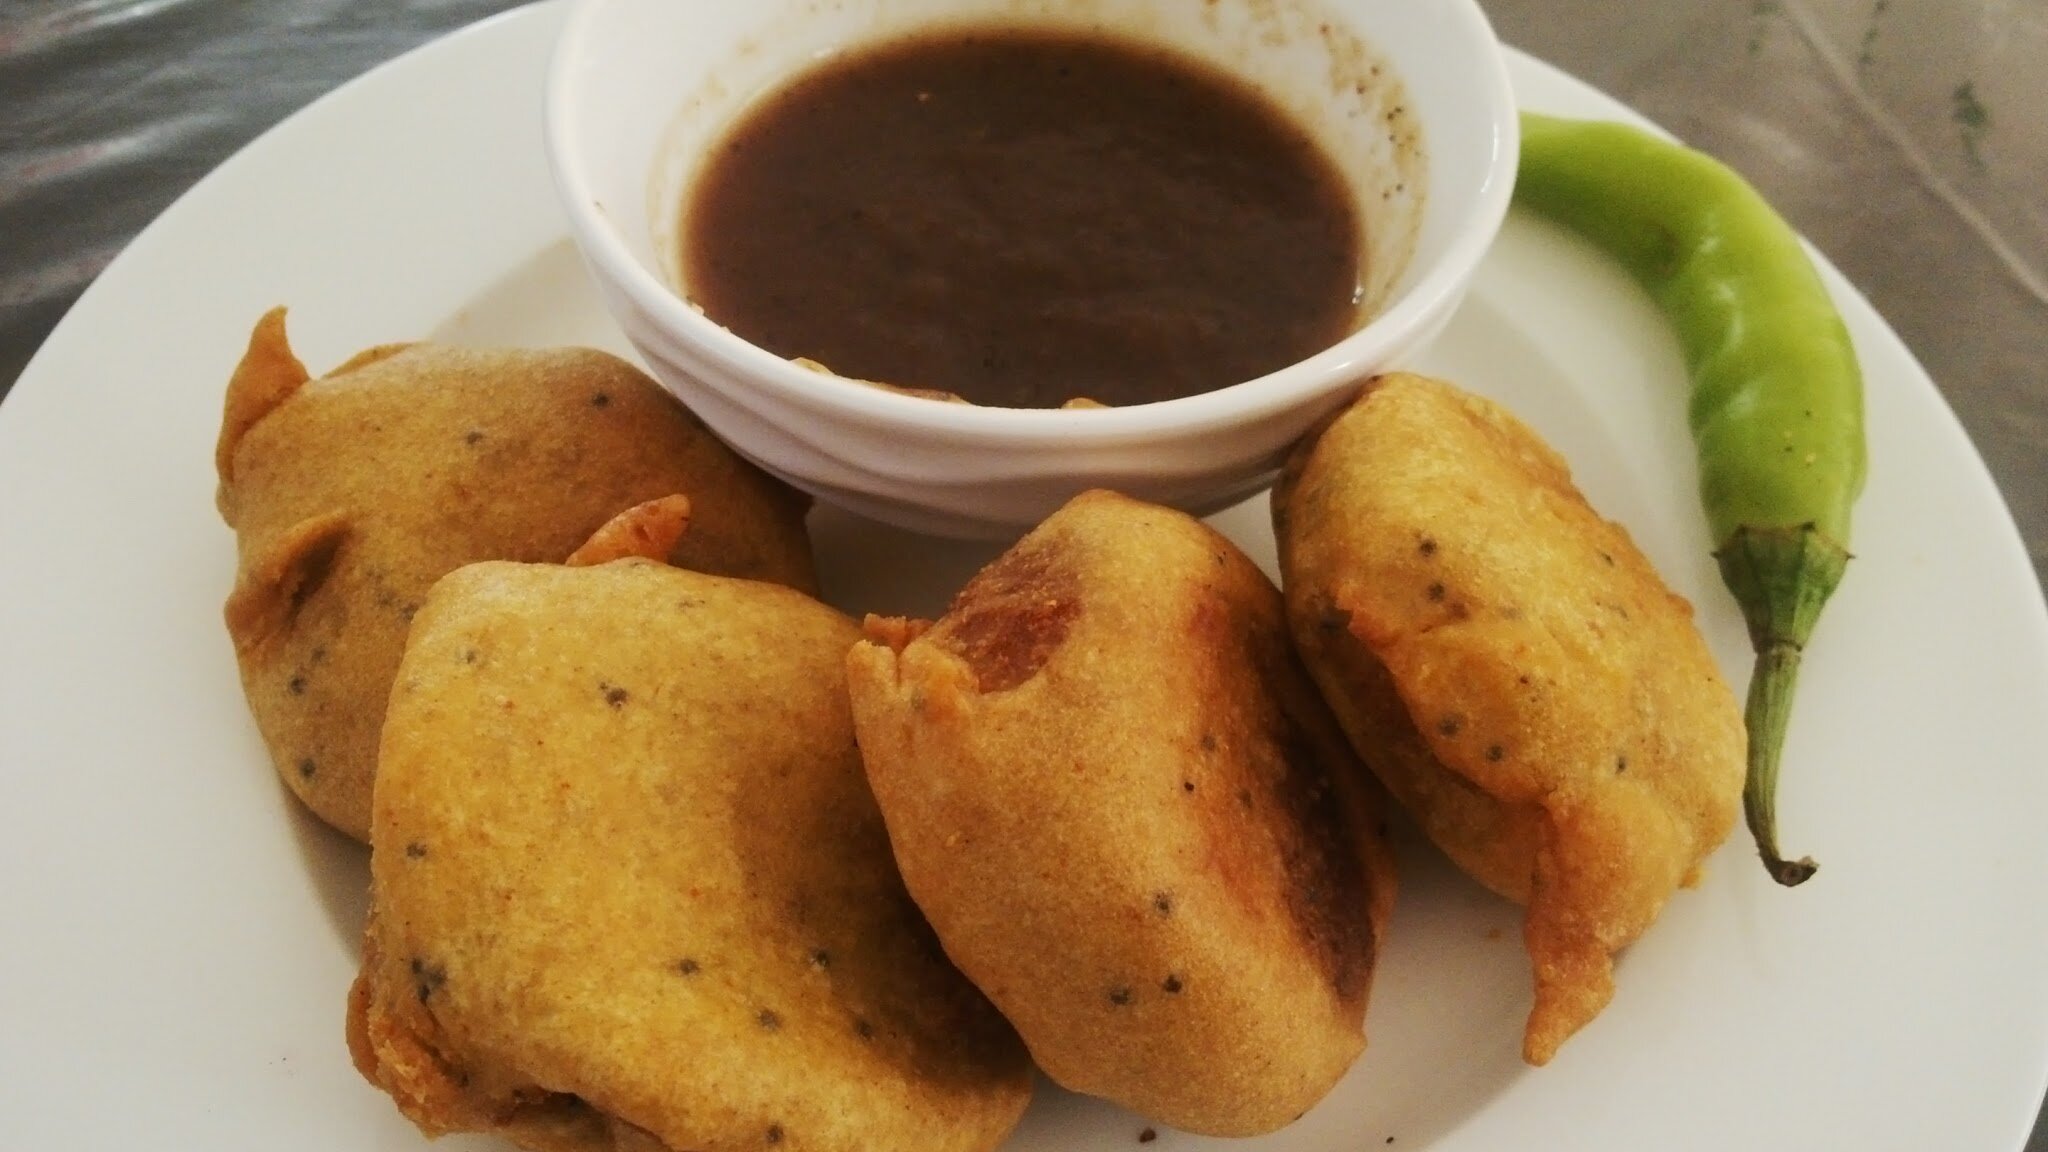
Batata Vada is a popular Indian street food snack with spiced potato mash encased in perfectly crispy outer covering. It is vegan, gluten free and can be enjoyed with chutney, ketchup or any dip of choice.

This delicious street food is from Maharashtra state of India. In Marathi (local language), the word batata means ‘potatoes’ and vada means ‘fritters’. It pairs well with spicy cilantro chutney, chilli garlic chutney or can be used as patty in sandwich or sliders (also known as vada pav).
Traditionally batata vada (also known as aloo vada) is deep fried but for healthy-ish low calorie version you can make them in air fryer also. They are great to snack with tea or coffee or as weekend brunch.
The batata vada recipe is:
- Vegan
- Vegetarian
- Gluten free
- Can me deep fried or made in air fryer
It is bizarre how a particular flavour or aroma sometimes takes you to childhood memory lane. Every time I start making batata vada my mind wanders to the care-free, good times when my mother prepared these yummy batata vada on weekends & me, my brother would relish them while watching our favourite cartoon shows.
Ingredients you’ll need:
The recipe is quite simple and requires handful of simple pantry ingredients like-
Potatoes: We will first boil the potatoes and then mash them to make the stuffing. They can be boiled in pressure cooker or instant pot. To save time, you can boil the potatoes in advance and cool them in fridge.
Gram Flour: Also known as besan, it is a pale yellow coloured gluten free flour made with chana dal (split bengal gram). The batter for vada is made with gram flour (or chickpea flour) rather than regular flour. The consistency of the batter is important as it should neither be too thick nor too thin.
Spices / Aromatics: Ginger, cilantro, green chillies, red chilli powder, turmeric, rai (mustard seeds) etc all these enhance the taste and flavour of batata vada. We add some spices in potato mash and some in the gram flour batter for perfect balance of taste.
Oil: You can use any cooking oil to deep fry or air fry these vada like mustard oil, peanut oil or sesame oil.
I have made these batata vada without onion and garlic but if you wish you can add finely minced garlic or onions in potato mixture.
More Indian snacks recipes you might like to try:
Ingredients: (For 8 pieces)
- Potatoes (boiled)-3 (medium size)
- Onion (chopped)- 1
- Green chilli (chopped)- 1
- Ginger Paste- 1/2 tsp
- Red Chilli powder- 1 tsp
- Salt- 1 tsp (to taste)
- Mango Powder- 1 tsp
- Coriander Powder- 1 + 1/2 tsp
- Cooking Oil- 2 tsp
- For covering:
- Gram flour (Besan)- 3/4 cup
- Water- 1 cup
- Salt- 1 tsp
- Red Chilli Powder- 1 tsp
- Rai (Mustard Seeds)- 1/2 tsp
- Cooking oil- 2 tsp
Directions:
Step 1:
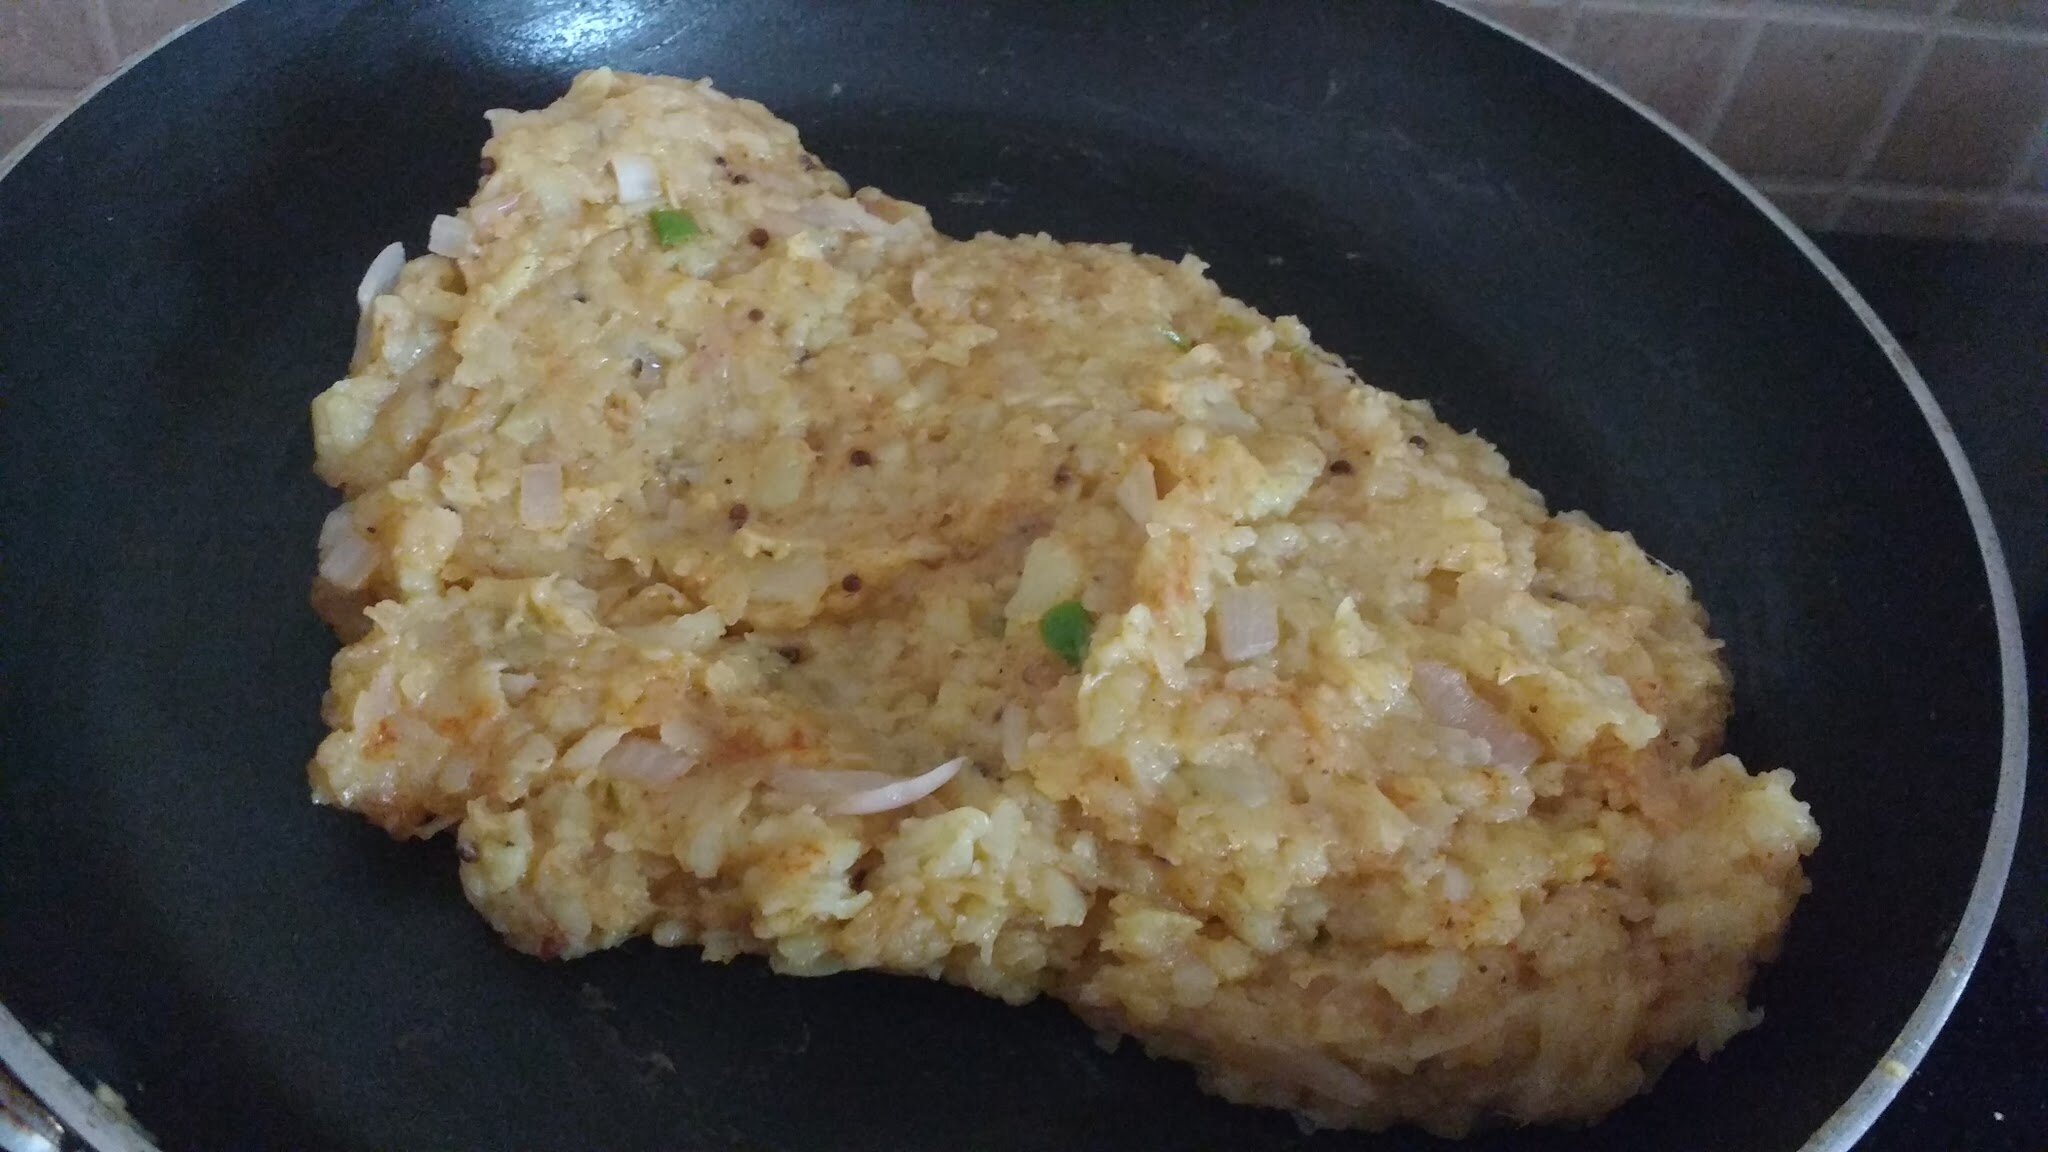
Heat cooking oil in a non stick pan. Add chopped green chillies, ginger paste and chopped onion. Stir till onion turns pink. Add mashed boiled potatoes and all the spices. Mix well for 2-3 minutes. Switch off the flame. Keep this mixture aside to cool down.
Step 2:
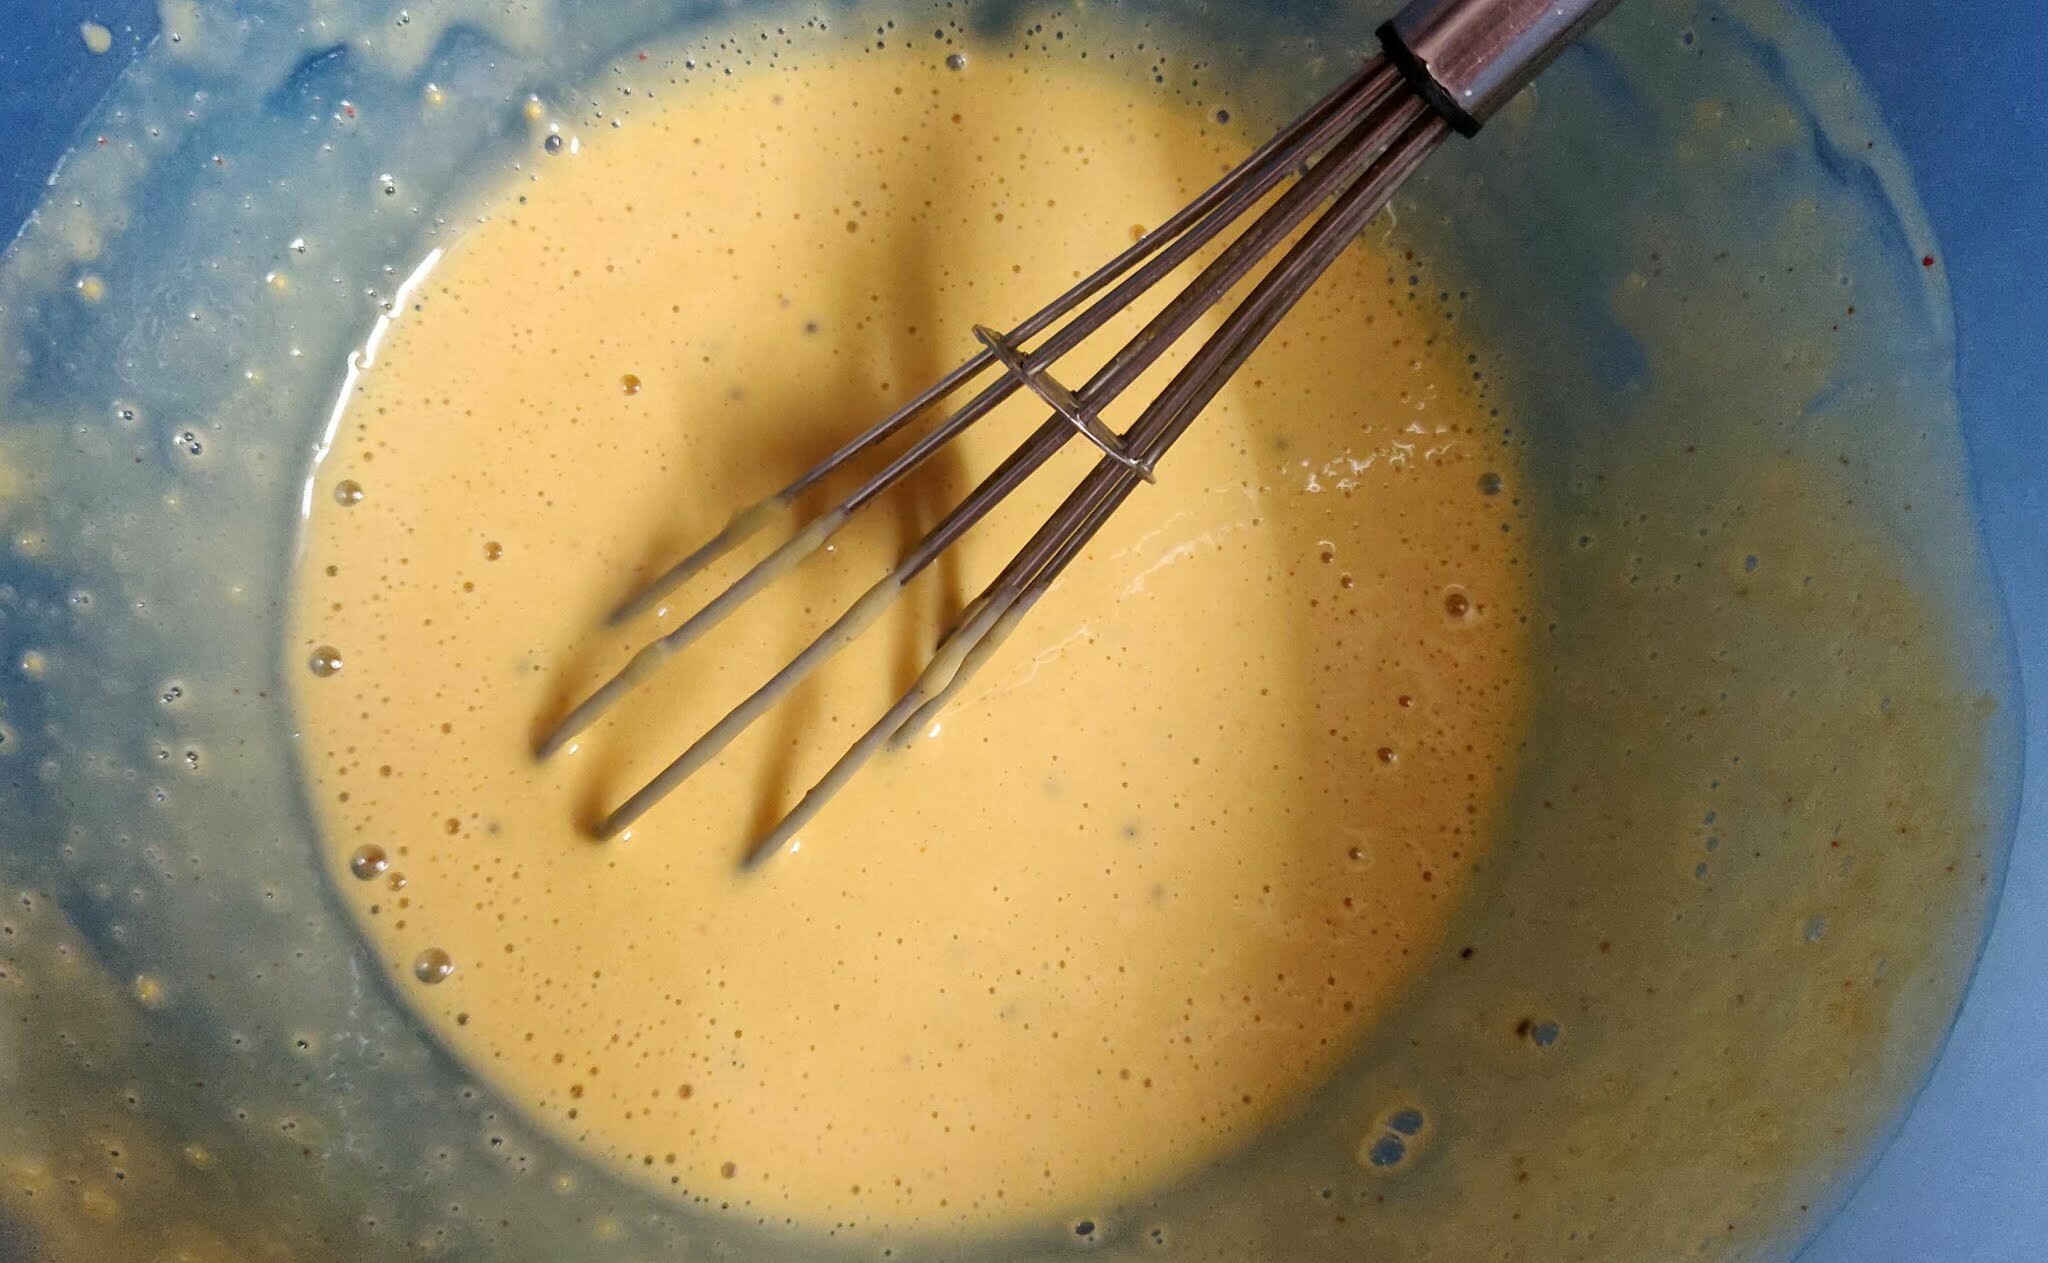
Take besan (gram flour) in a bowl, add salt and red chilli powder to it. Make a smooth batter by gradually adding water to it. Now in a small pan, heat oil and add mustard seeds to it. Once the seeds begin to crackle, add them to the batter as well.
Step 3:
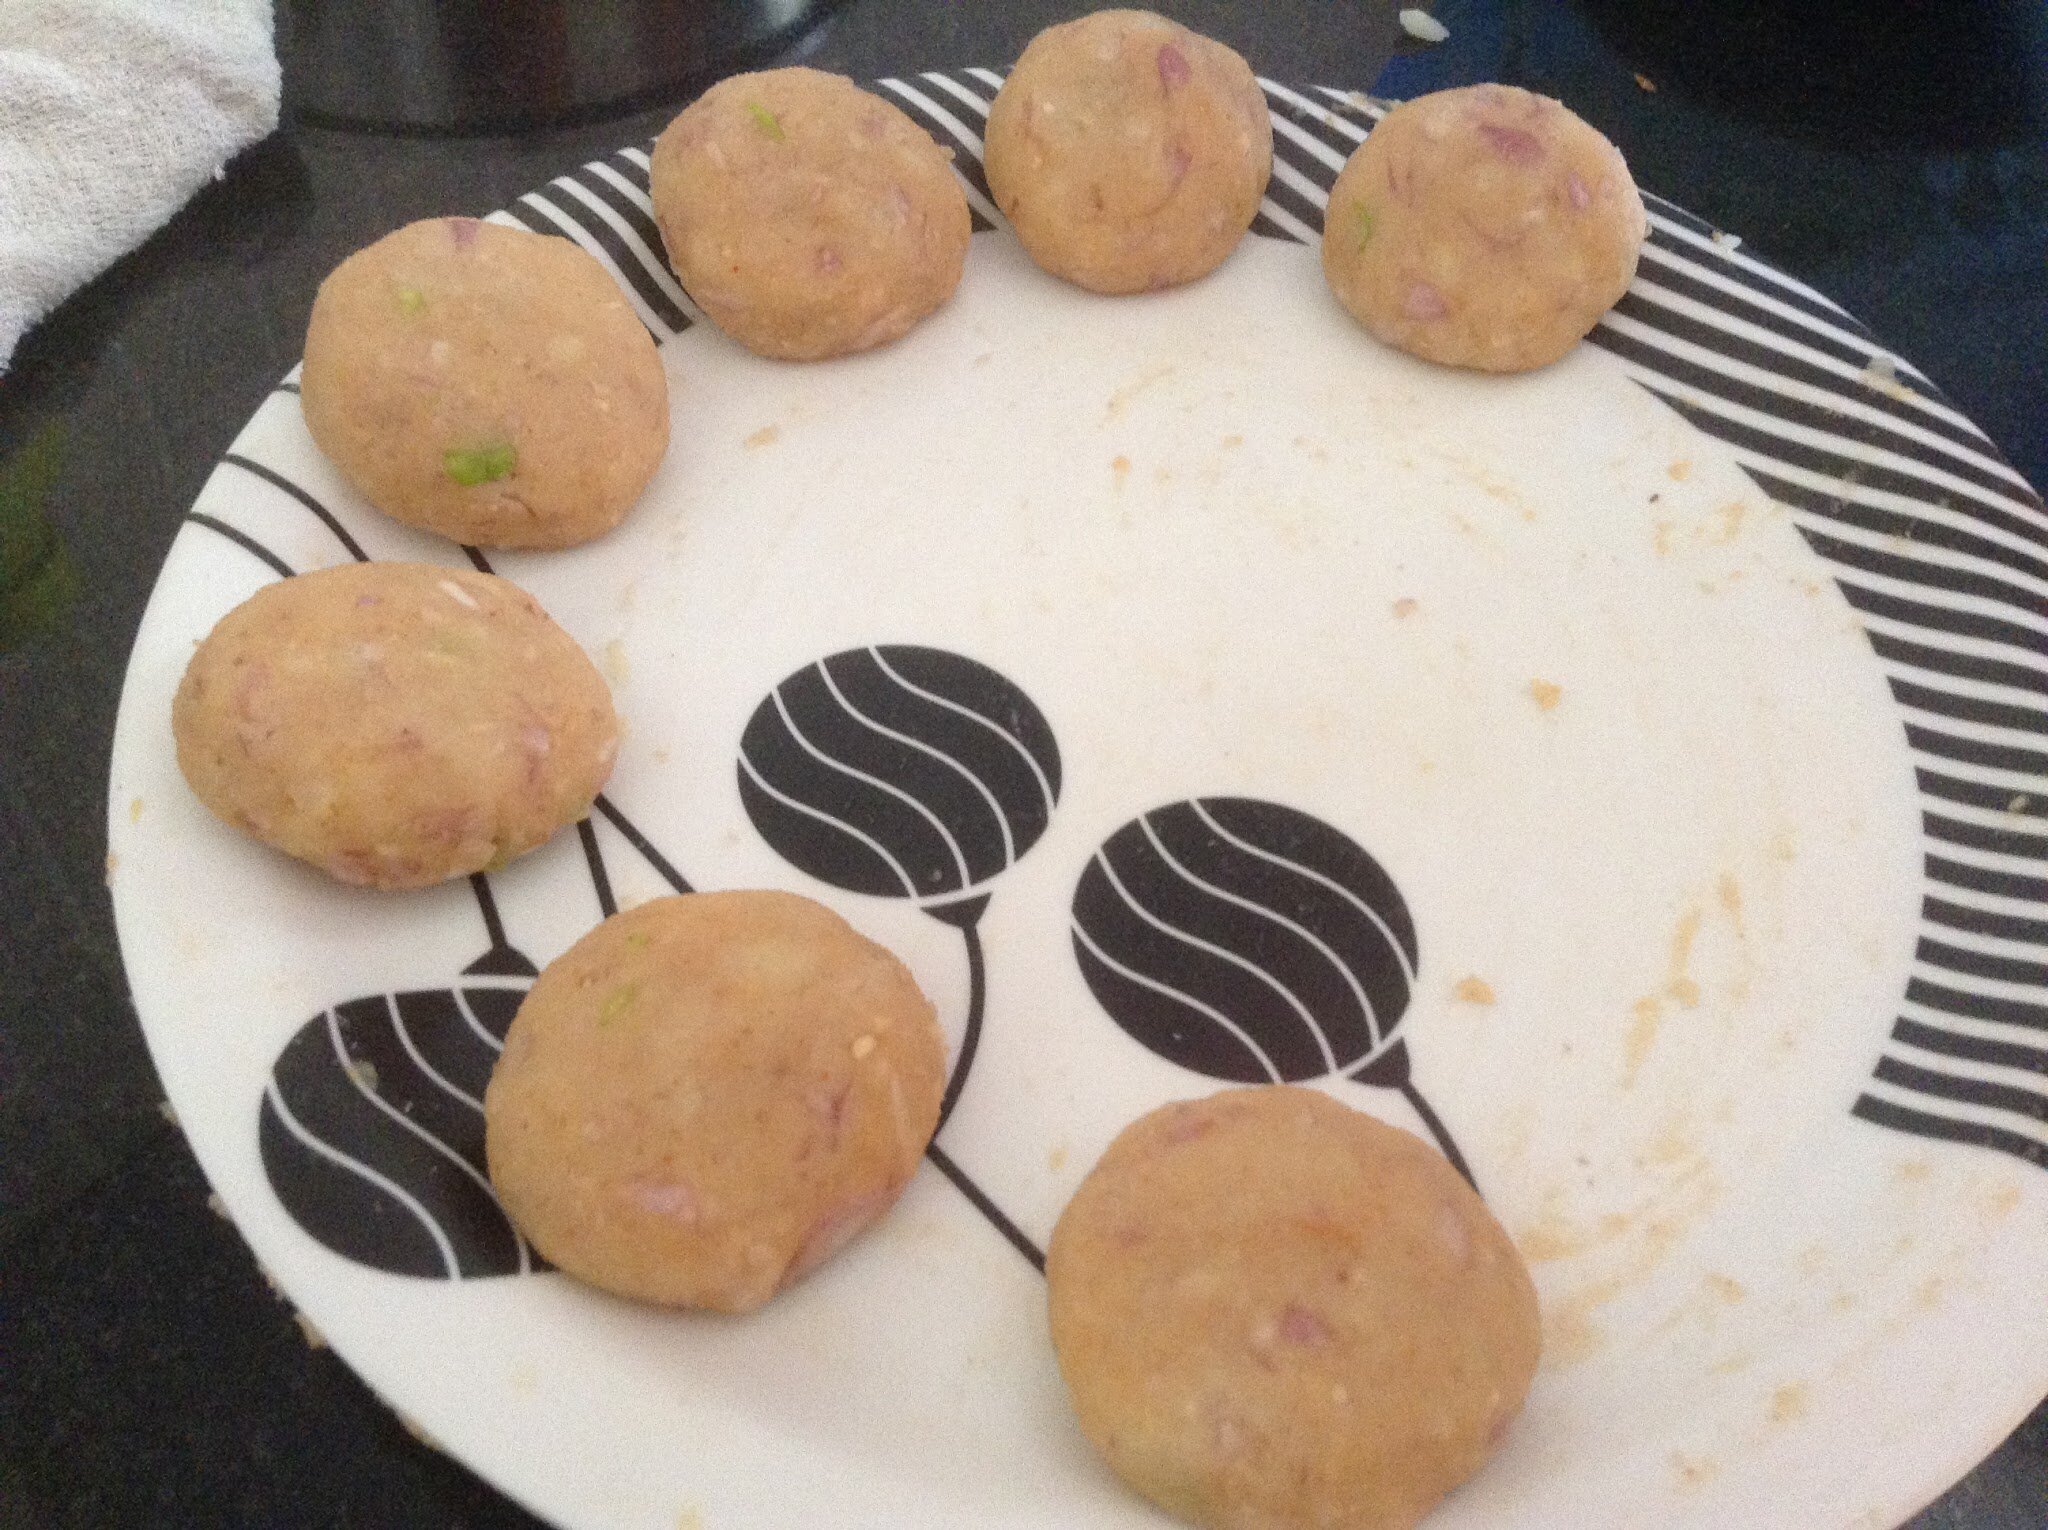
Now take a spoonfull potato mash in your hand and roll it into balls . Press it lightly from the top. Repeat this step for the rest of the mash.
Step 4:
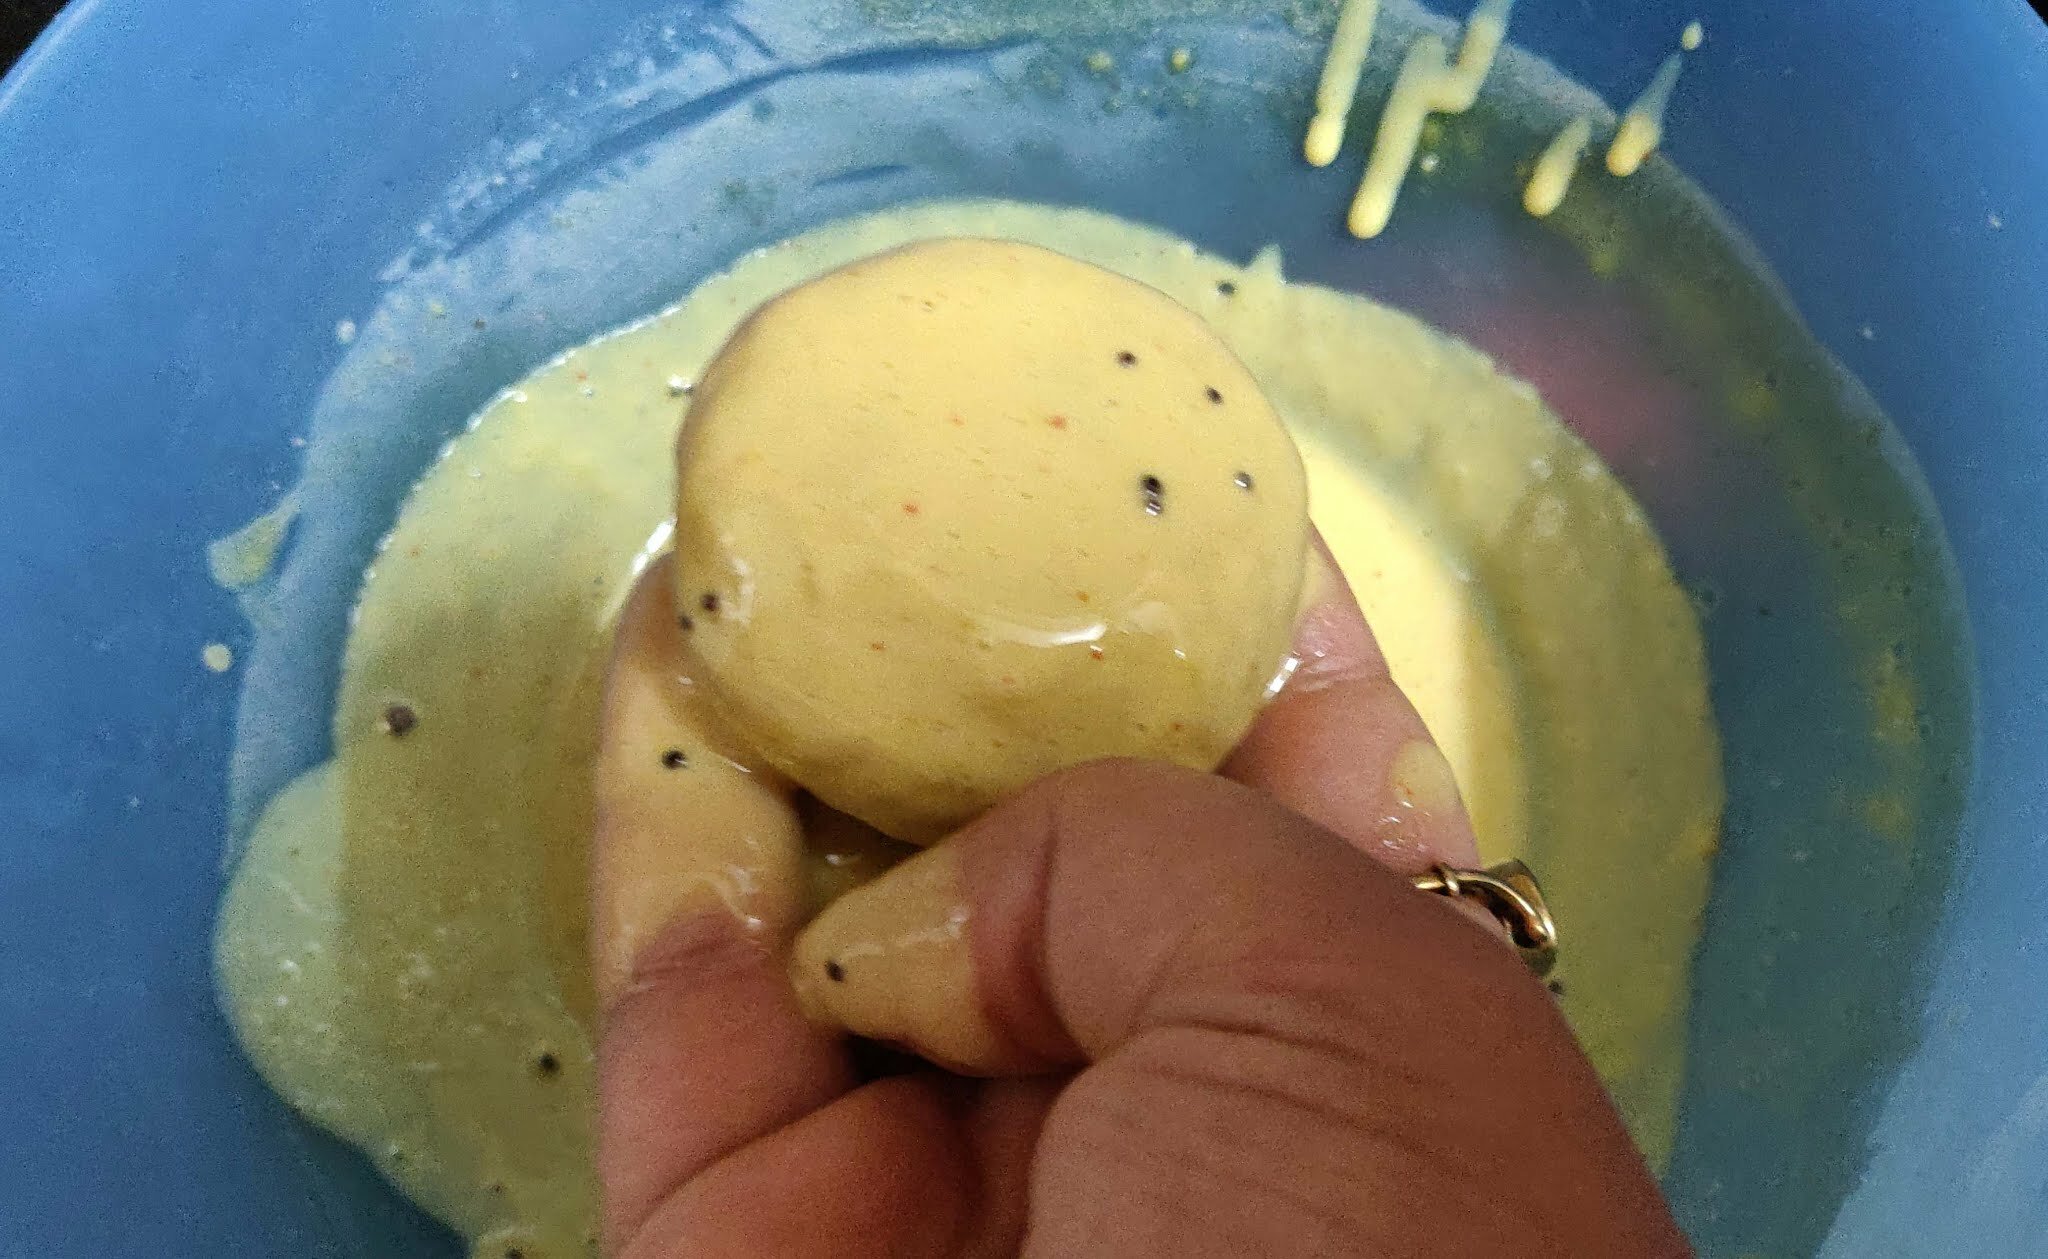
Heat oil in a deep frying pan. When the oil has heated completely, dip this potato dumpling in the gram-flour batter and slowly drop it in the pan at medium flame.
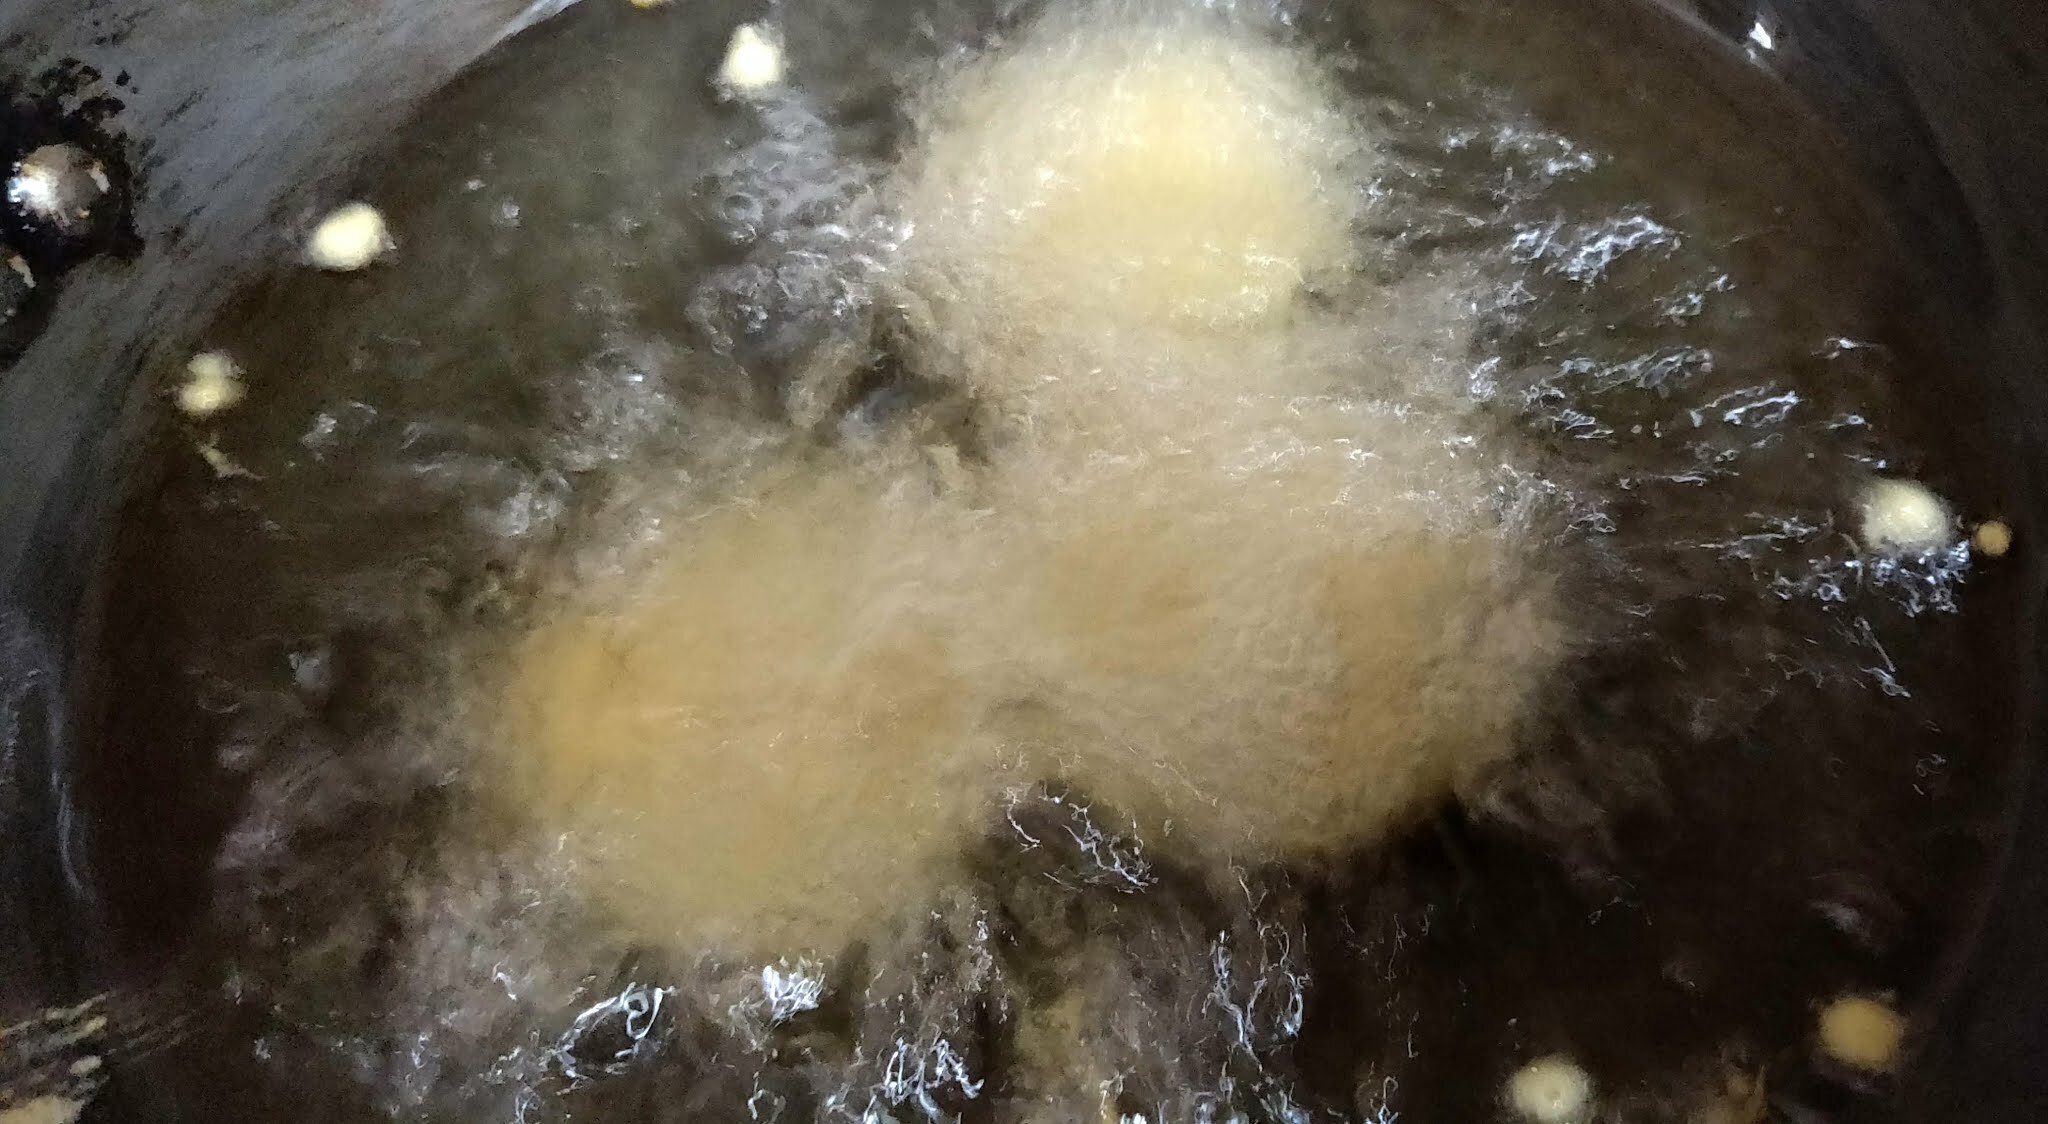
After a minute or two, turn the batata and let it cook from other side as well. Repeat the process for rest of the potato dumplings till they are golden brown in colour.
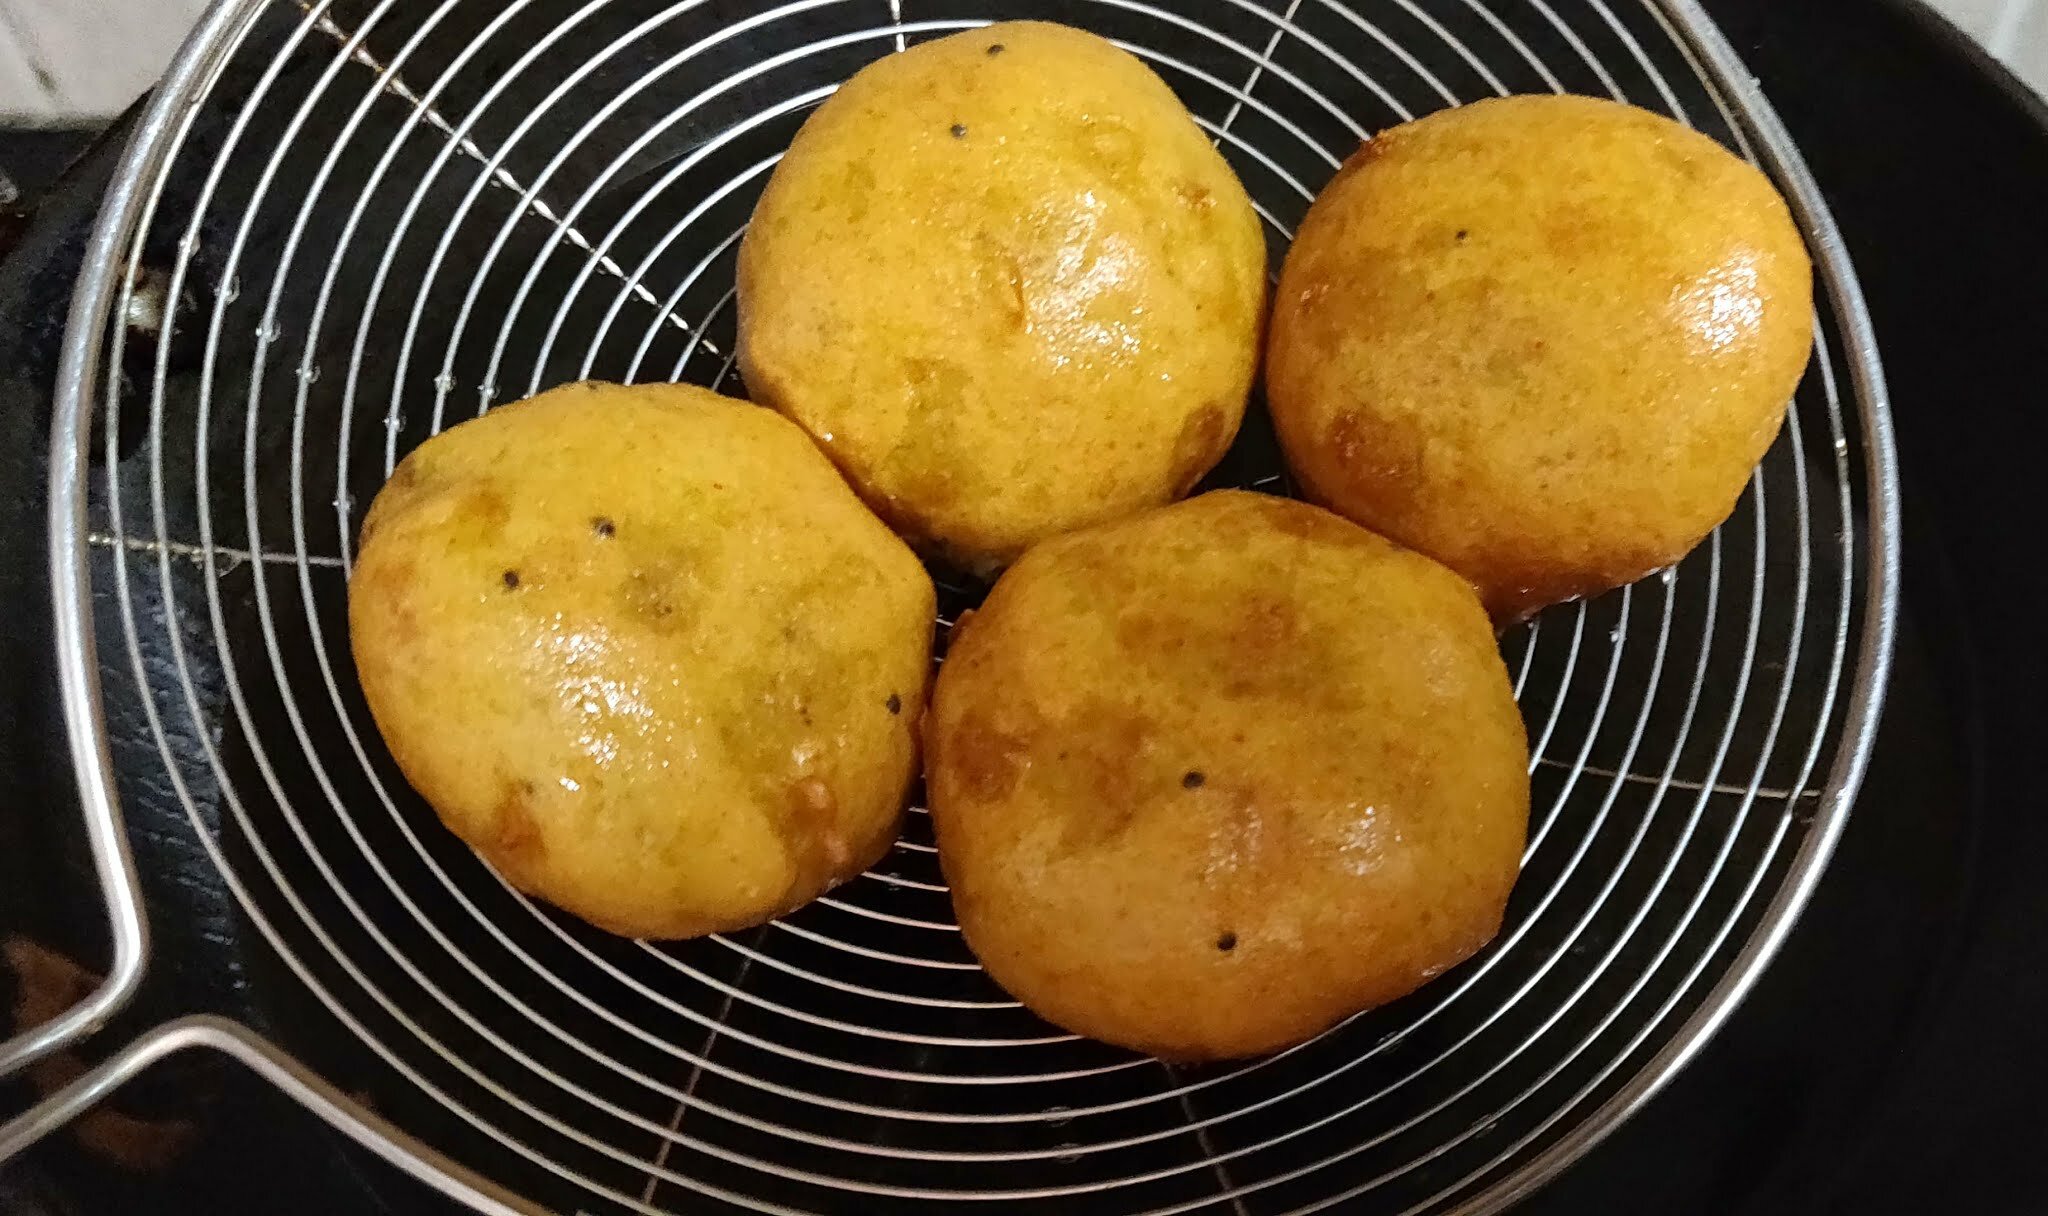
Hot spicy “Batata Vadas” are ready. Serve it with fresh coriander or tamarind chutney!! 🙂
If you try this batata vada recipe & share pics on social media, then don’t forget to tag on Facebook, Instagram or use #kuchpakrahahai.
Let’s stay connected
Facebook | Instagram | Pinterest| Youtube
 (1 votes, average: 5.00 out of 5)
Leave a Reply