Kuch Pak Raha Hai

  • Home
  • Recipes
    • Air Fryer
    • Eggless Bakes
      • Cakes & Cupcakes
      • Cookies & Crackers
      • Savoury
    • Breakfast
    • Snacks & Appetizers
    • Salads & Soups
    • Accompaniments
      • Chutneys & Dips
      • Pickles
      • Raita
    • Indian
      • North Indian
      • South Indian
      • Breads / Rice
    • International
    • Desserts
      • No Bake Desserts
      • Indian Sweets
      • Ice Creams
    • Beverages
    • Navratri
    • Basics
  • About Me
  • Privacy Policy
  • Contact Us
You are here: Home / Recipes / Desserts / Banoffee Pie Recipe

Banoffee Pie Recipe

Posted by Divya on February 12, 2026 Tagged With: Kids Friendly, Vegetarian Desserts, No Bake Desserts Banoffee Pie is a delectable, luscious, no-bake dessert with layers of buttery biscuit or graham cracker crust, sweet sticky dulce de leche, fresh banana slices & airy-light whipped cream. It is vegetarian, eggless and easy to make summer dessert. banoffee pie, banoffee tart, banoffi pie, banoffe pie tart, banana toffee pie, easy banoffee pie recipe Jump to Recipe

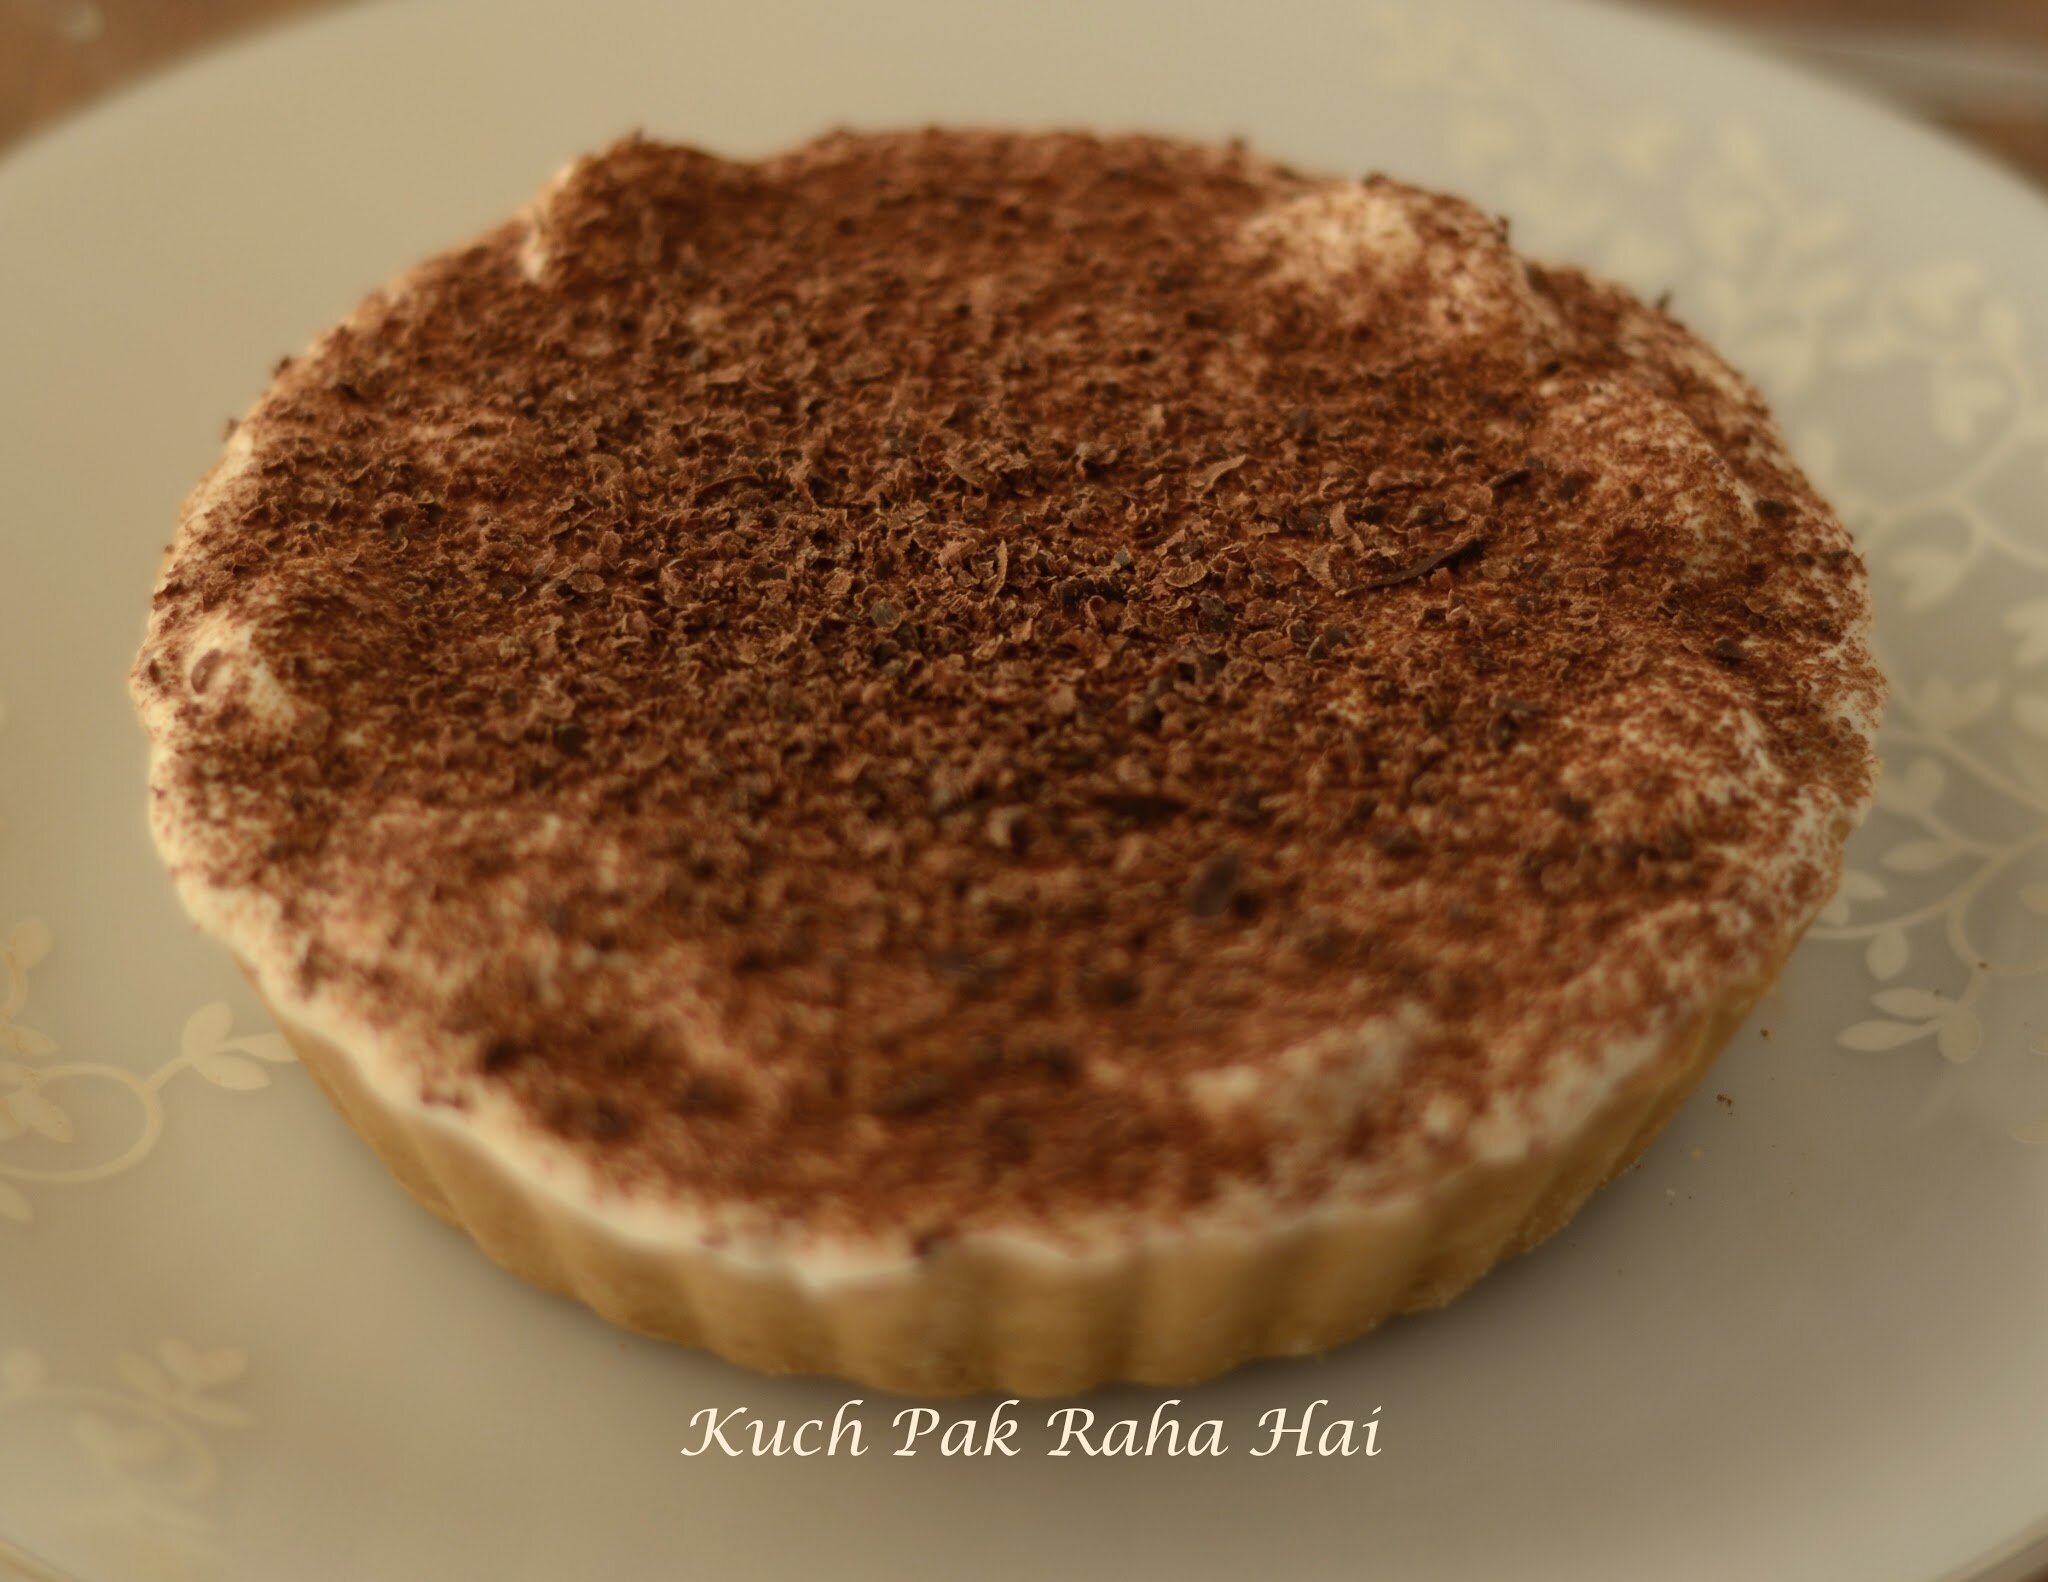
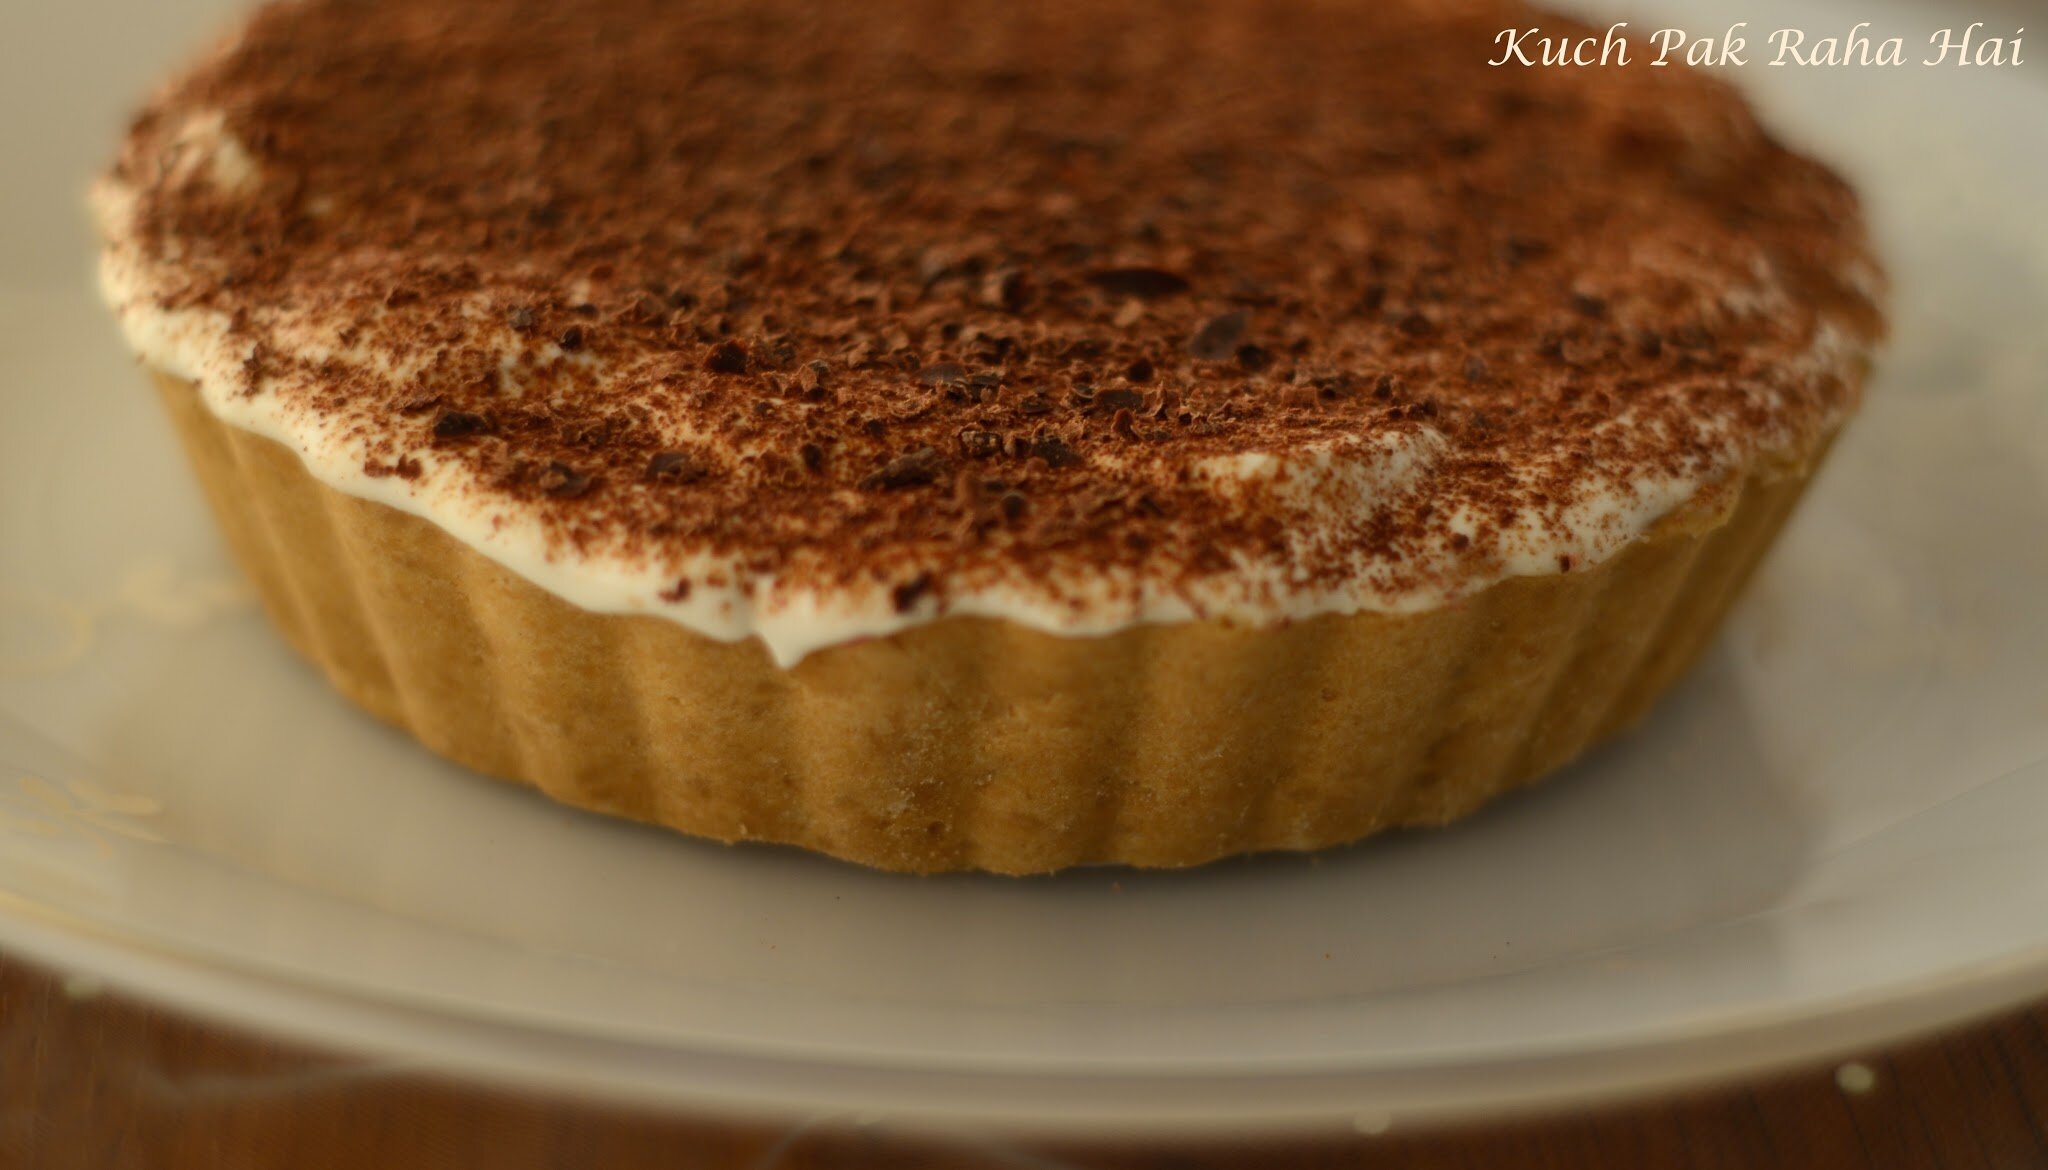
Banoffee Pie is a delectable, luscious, no-bake dessert with layers of buttery biscuit or graham cracker crust, sweet sticky dulce de leche, fresh banana slices & airy-light whipped cream. It is vegetarian, eggless and so easy to make.

banoffee pie on a platter.

The word ‘Banoffee’ in this classic British dessert pie is actually the combination of two words ‘banana’ + ‘toffee’, which are also the main flavours of this delicacy. It was first created in Britain (East Sussex) at the ‘The Hungry Monk’ restaurant by owner Nigel Mackenzie & chef Ian Dowding around 1971.

Every bites of this pie tastes so delicious with crunchy crust, sweet bananas, decadent caramel and luscious cream, that it will make you reach for more each time. I have used removable-base tart pan here but you can even set it in a glass serving dish or individual dessert bowls for large gathering.

Banoffi Pie Layers:

It has 4 main layers- biscuit crust, dulce de leche, bananas & heavy cream. Let’s discuss them one by one in detail below-

Pie Crust:

The base of this pie is completely no-bake, made with crushed biscuits & melted butter. You can use marie, graham crackers or lotus biscoff cookies for it. To make the crust gluten-free, opt for gluten free graham crackers.

I personally like to use salted butter as slight saltiness compliments the overall sweetness of the dessert but you can use unsalted butter too. Biscuits can be coarsely ground in a grinder jar or you can simply transfer them to a resealable bag & crushed with a kitchen rolling pin. To melt the butter, either microwave it for 30-40 seconds or on a stovetop in a small pan.

Dulce De Leche:

This golden coloured sauce has sticky toffee like consistency & nutty sweetness similar to caramel. It is the second layer of pie, poured over the biscuit crust. You can easily find its jar in grocery stores or online or make it yourself at home from scratch.

The traditional method involves slow cooking milk with sugar for a long time but you can make it in much lesser time using a can of condensed milk. Both oven & stovetop methods are discussed in detail in my dulce de leche post.

Banoffe pie tart.

If you are not able to find or have time to make dulce de leche, substitute it with biscoff cookie spread. Though the flavour is not exactly the same but the pie still tastes good. Dulce-de-leche not only adds divine sweetness to the pie but also acts like a barrier between pie crust & bananas, preventing the crust from getting soggy.

 Bananas: 

The bananas to be used in the pie should be sweet, ripe but yet firm. This is the third layer of pie arranged over dulce de leche. Peel & slice the bananas just when you are ready to assemble the pie to prevent them from oxidation. The authentic recipe uses only bananas but if you feel like playing around, sneak in handful of berries like strawberry (sliced) or blueberry.

Whipped Cream:

It is the topmost layer of the pie added over bananas. With its light airy texture and richness, whipped cream adds creaminess & subtle sweetness to the pie. You can use heavy cream (whipping cream) or double cream for it. For vegan version, use non-dairy whipping cream.

I have used powdered sugar to sweeten it and vanilla for flavouring. While flavouring the cream, you can also add a pinch of cinnamon as it also pairs well with bananas. If you are using pre-sweetened cream then skip adding sugar or add it later after tasting.

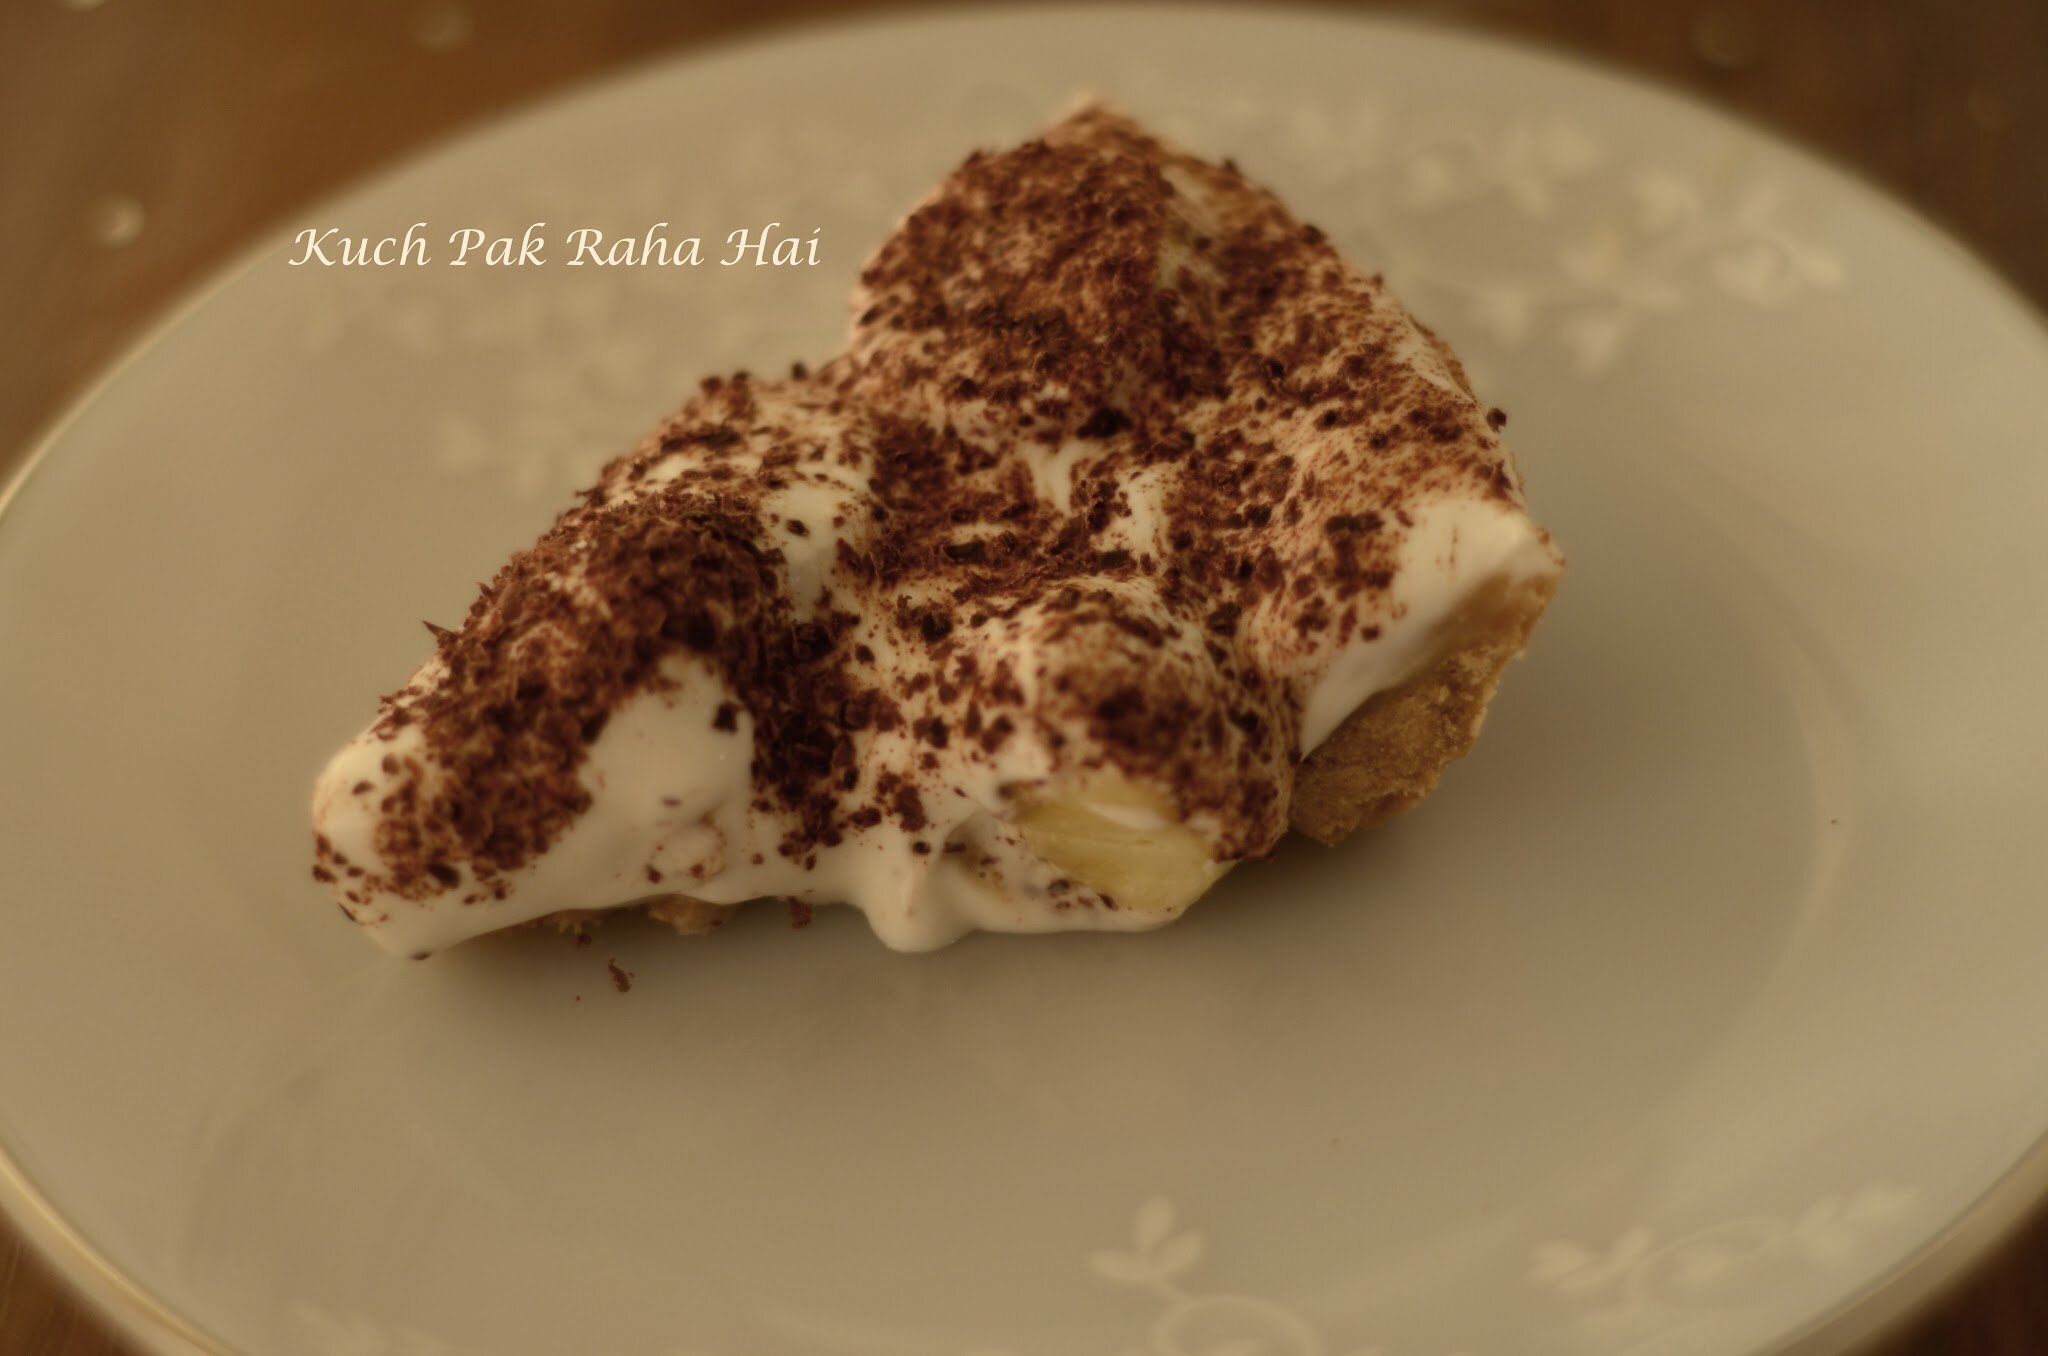
Slice of banoffee pie on a plate.

For finishing touch, lightly dust some cocoa powder on top or sprinkle chocolate shavings along with roasted nuts like hazelnuts or peanuts.

  • Prep Time: 10 minutes
  • Cook Time: 20 minutes

Ingredients:

  • Digestive Biscuits / Biscoff Cookies – 150 grams (5 oz.)
  • Butter (melted) – 50 grams (1.7 oz.)
  • Dulce De Leche – 200 grams (7 oz.)
  • Banana (sliced)- 1 large
  • Heavy Cream- 1/2 cup (125 ml)
  • Icing Sugar- 3 to 4 tbsp (to taste)
  • Vanilla Extract- 1 tsp
  • Chocolate Pieces- 2

Substitutions: You can make the recipe vegan by replacing butter with vegan butter / margarine, dulce de leche with biscoff spread and whipping cream with ‘non-dairy whipping cream’.

Directions:

Step 1:
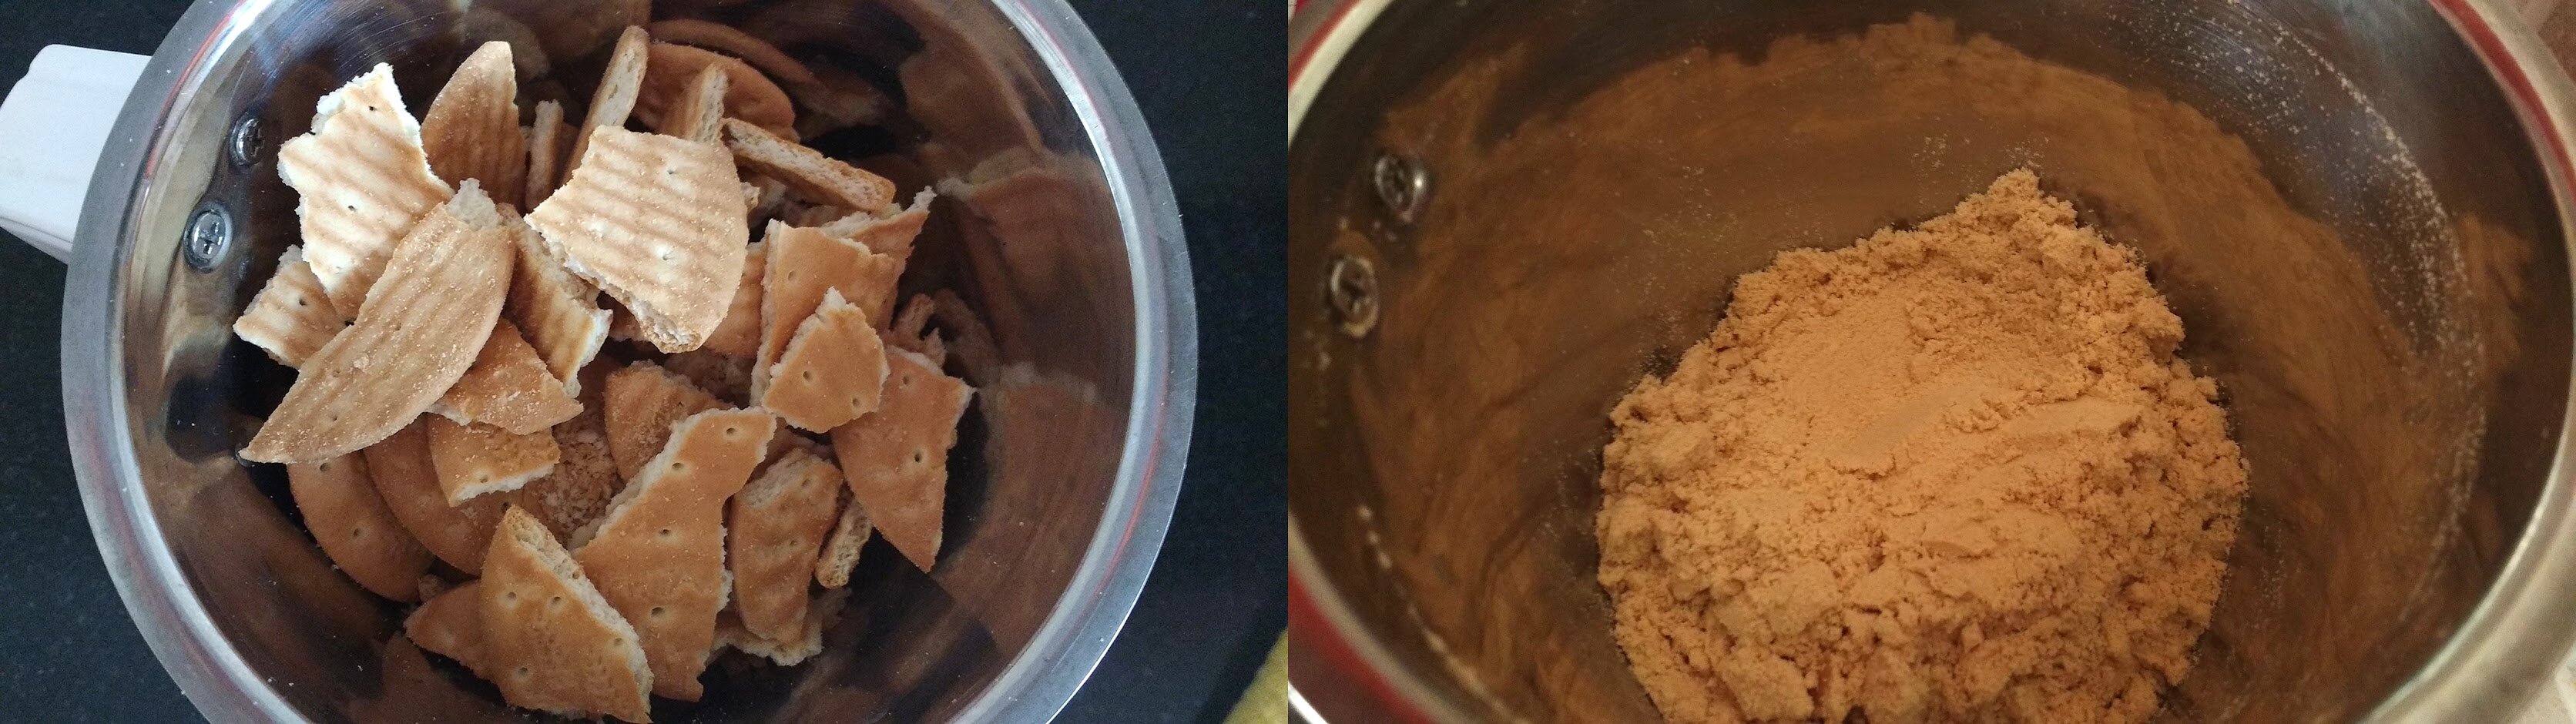
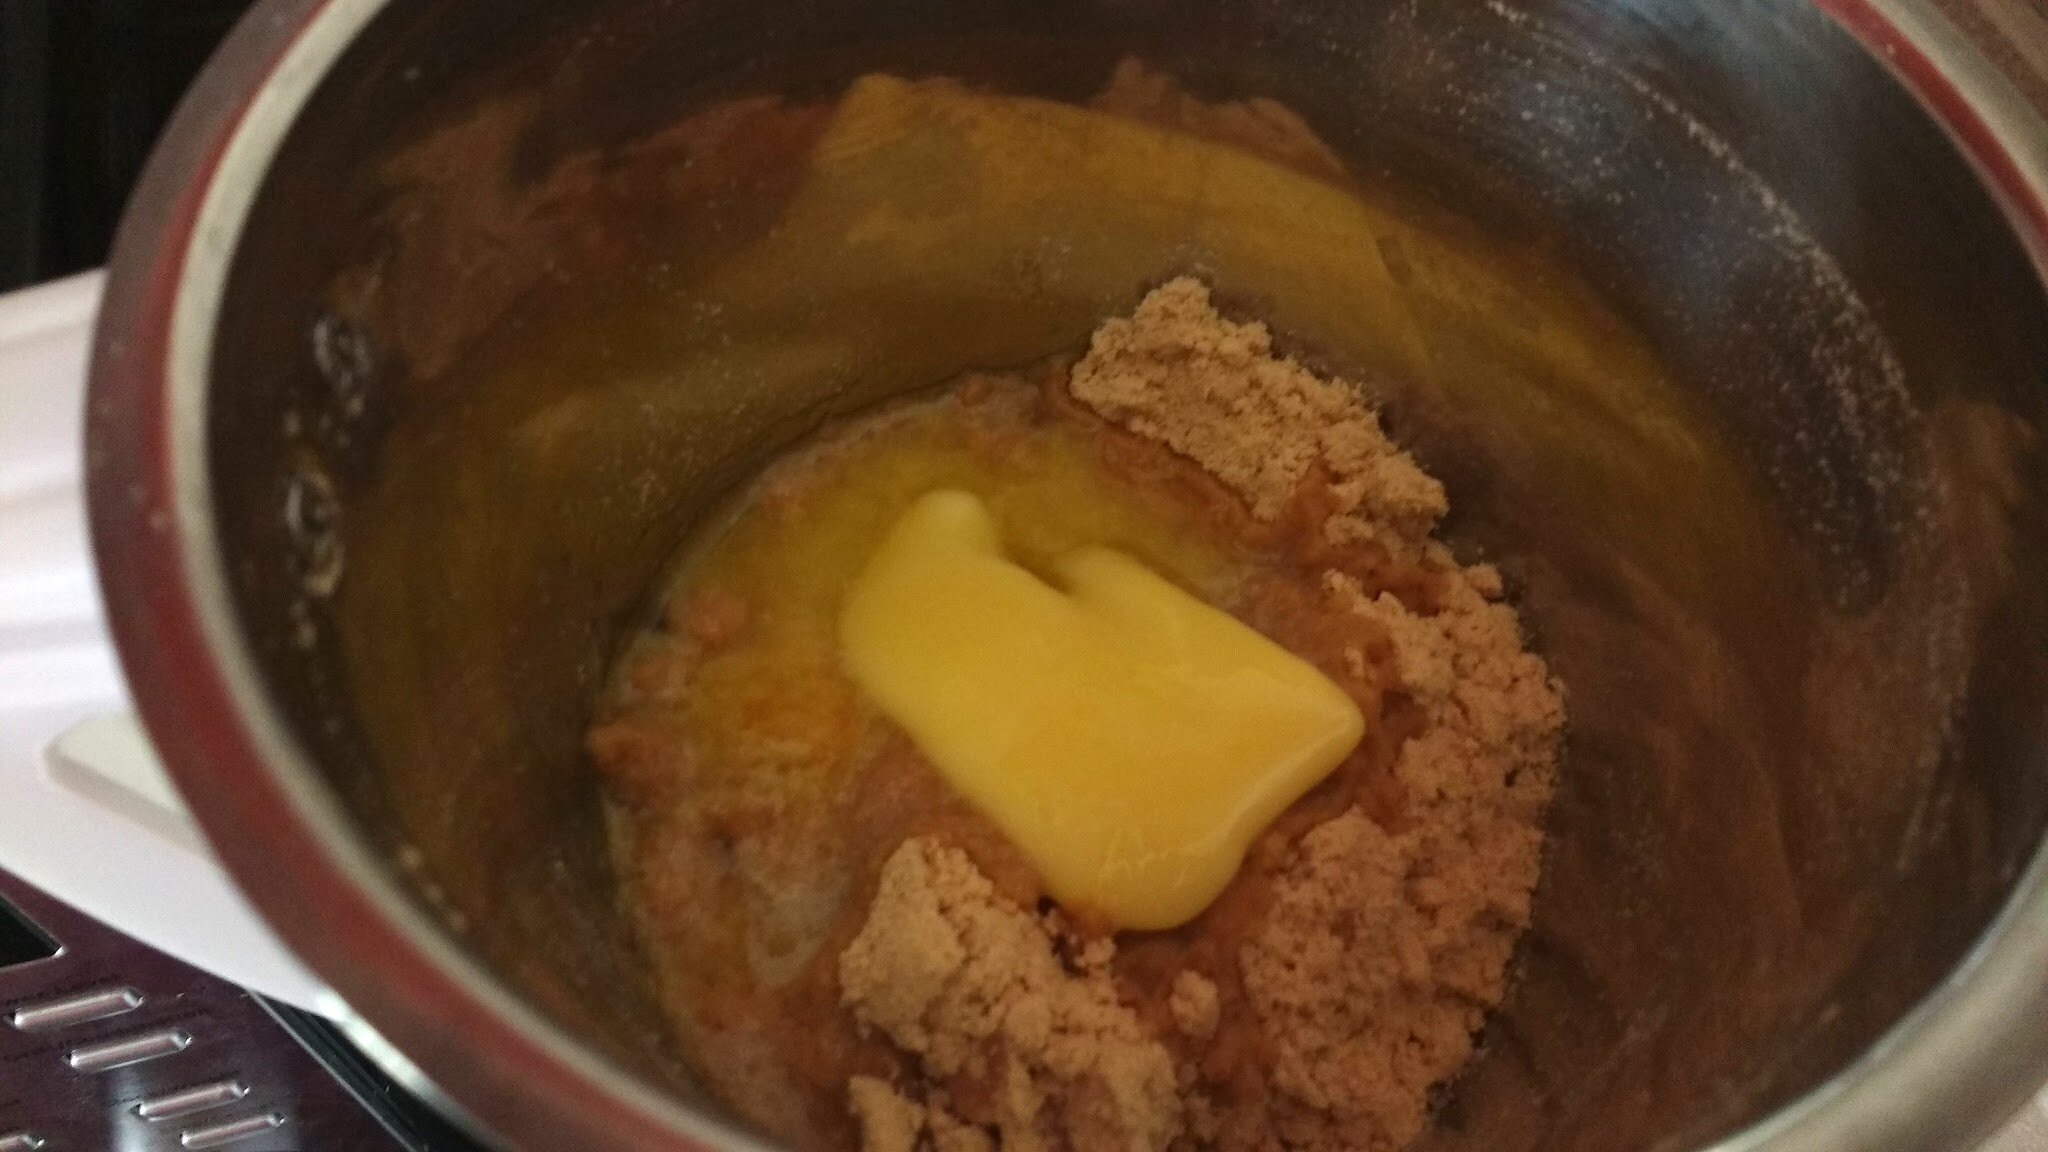
Transfer biscuits (or graham crackers) to a grinder jar. Coarsely grind in pulses. Transfer to a bowl and add melted butter to it. Mix well.
Mixing biscuit crumb with butter.

Step 2:
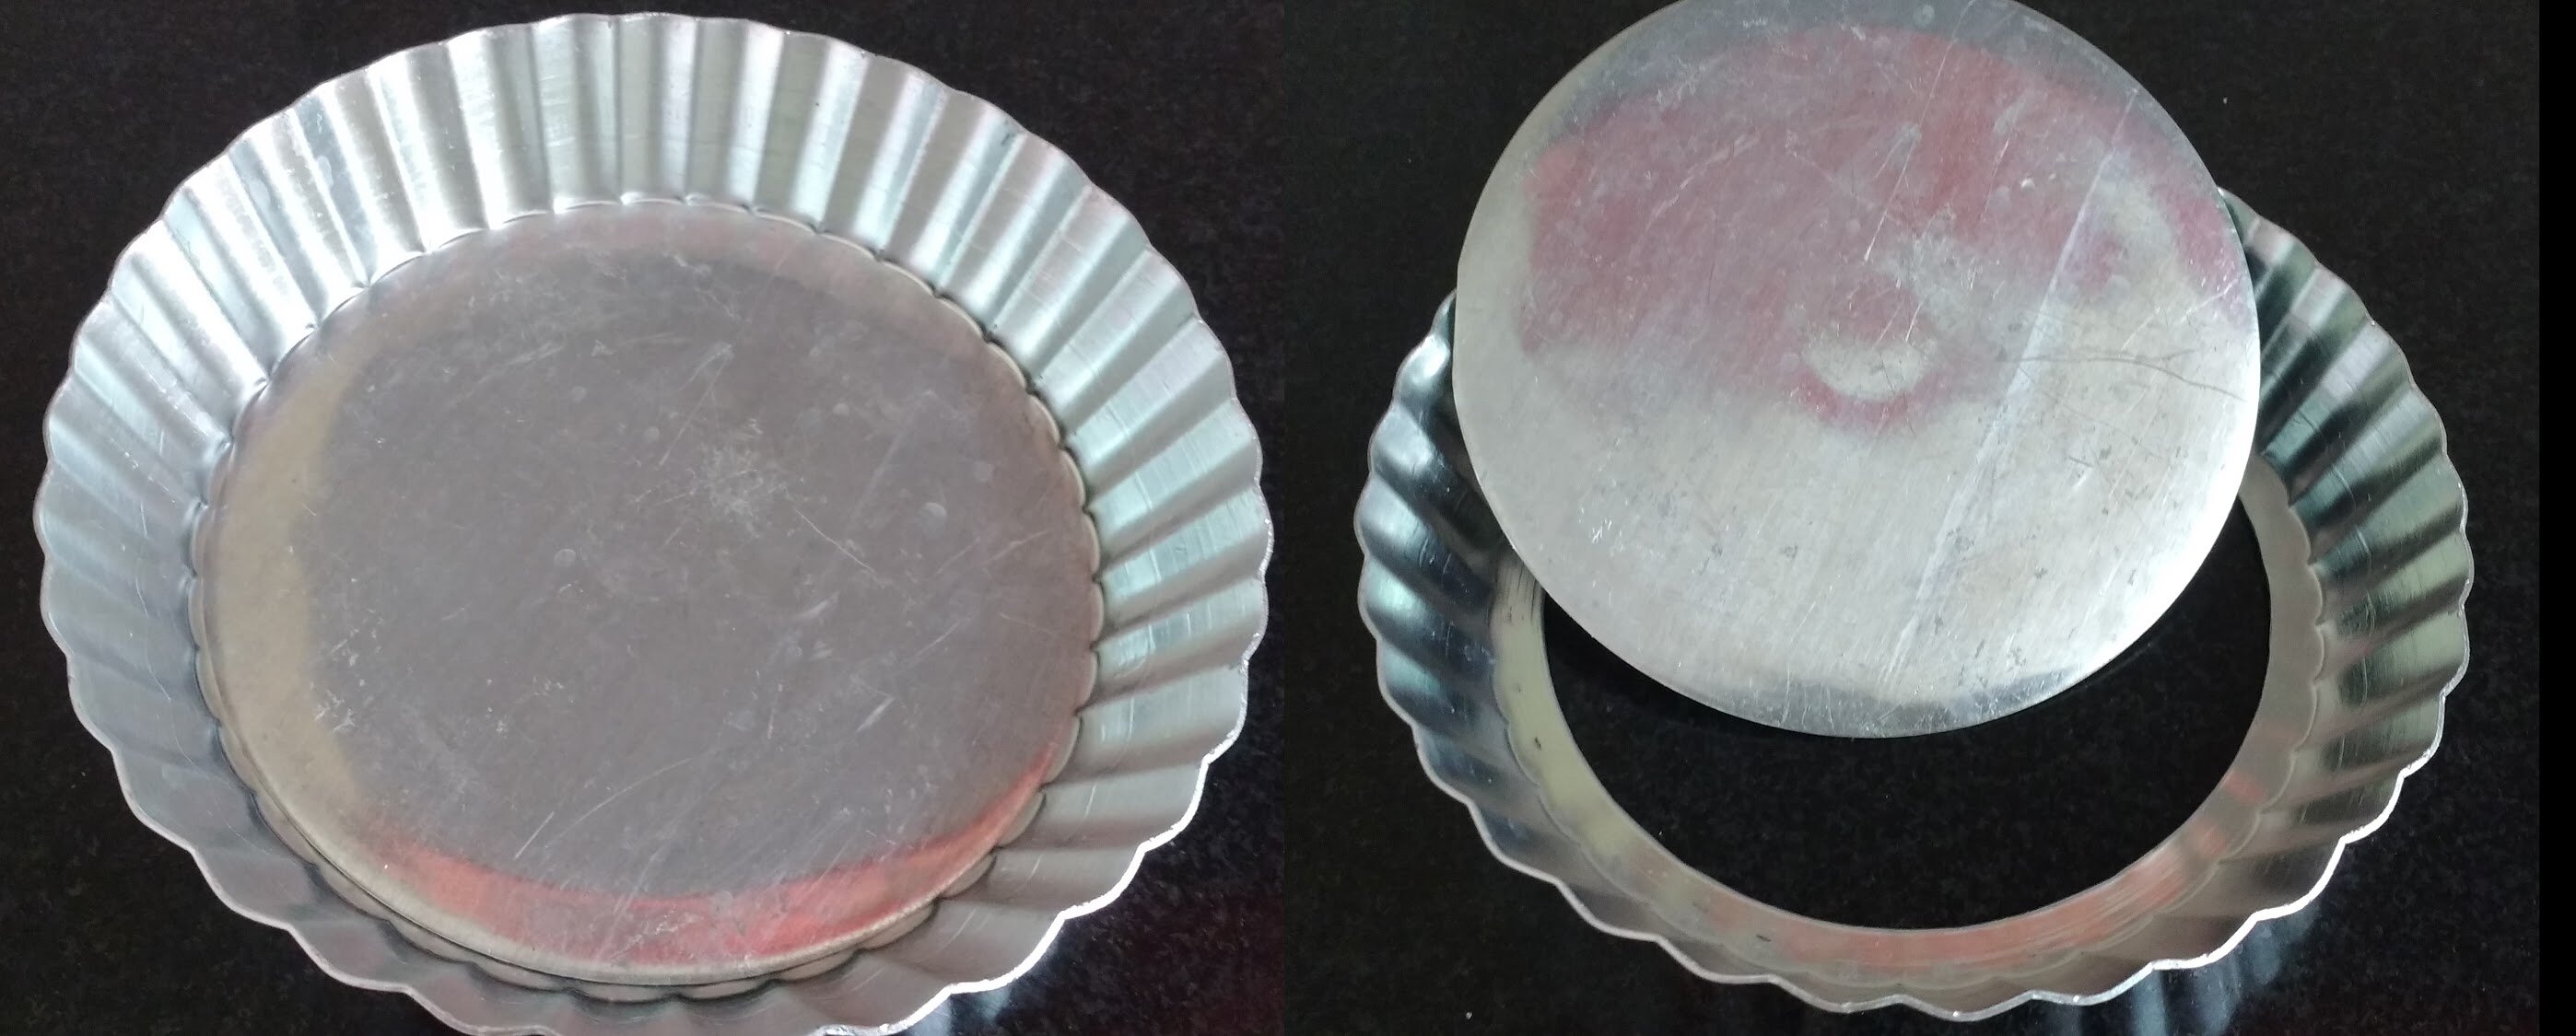
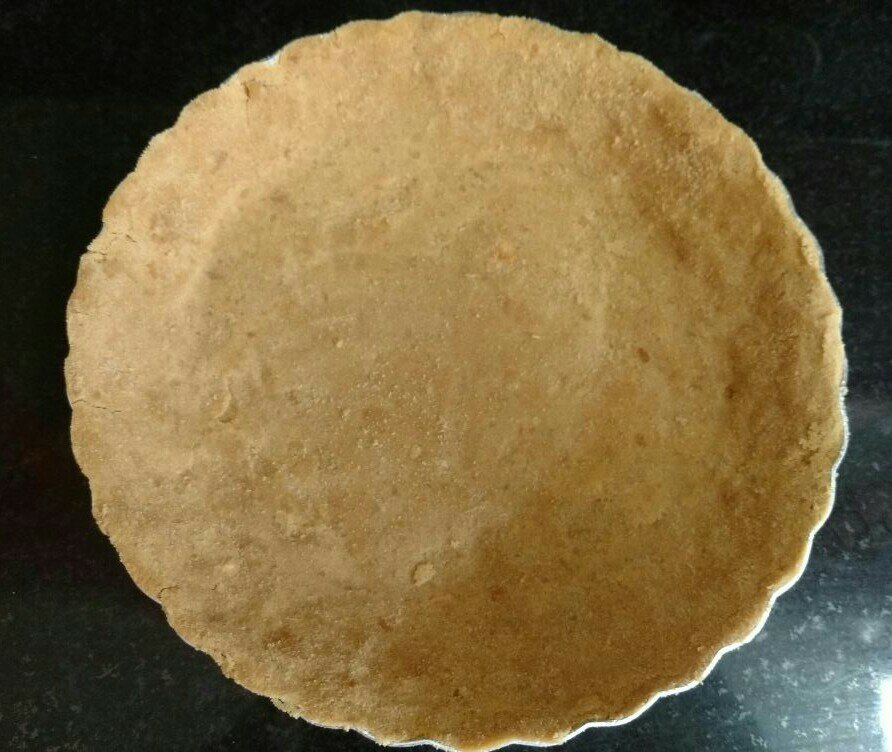
Transfer this biscuit crumb mixture to a 15 cm (6″) tart pan (with removable base). First spread the mixture on its base and then press it with a back of spoon to smoothen the crumbs. Set the mixture on the sides of pan by pressing with fingers. Use a knife to get sharp edges. Chill it in fridge for 30-40 min or in freezer for 20 minutes to set completely.
Setting biscuit pie crust in tart pan.

Step 3:
Open the dulce de leche tin and transfer to a bowl. Whisk it with a spoon or fork to get spreadable consistency. If it is too thick, microwave for 10 sec or place its bowl over another bowl filled with hot water for few minutes. Keep aside.
Dulce de leche in a bowl.

(Note: You can use store bought one or make it at home with a tin of condensed milk as explained in how to make dulce de leche. Keep it aside.)

Step 4:
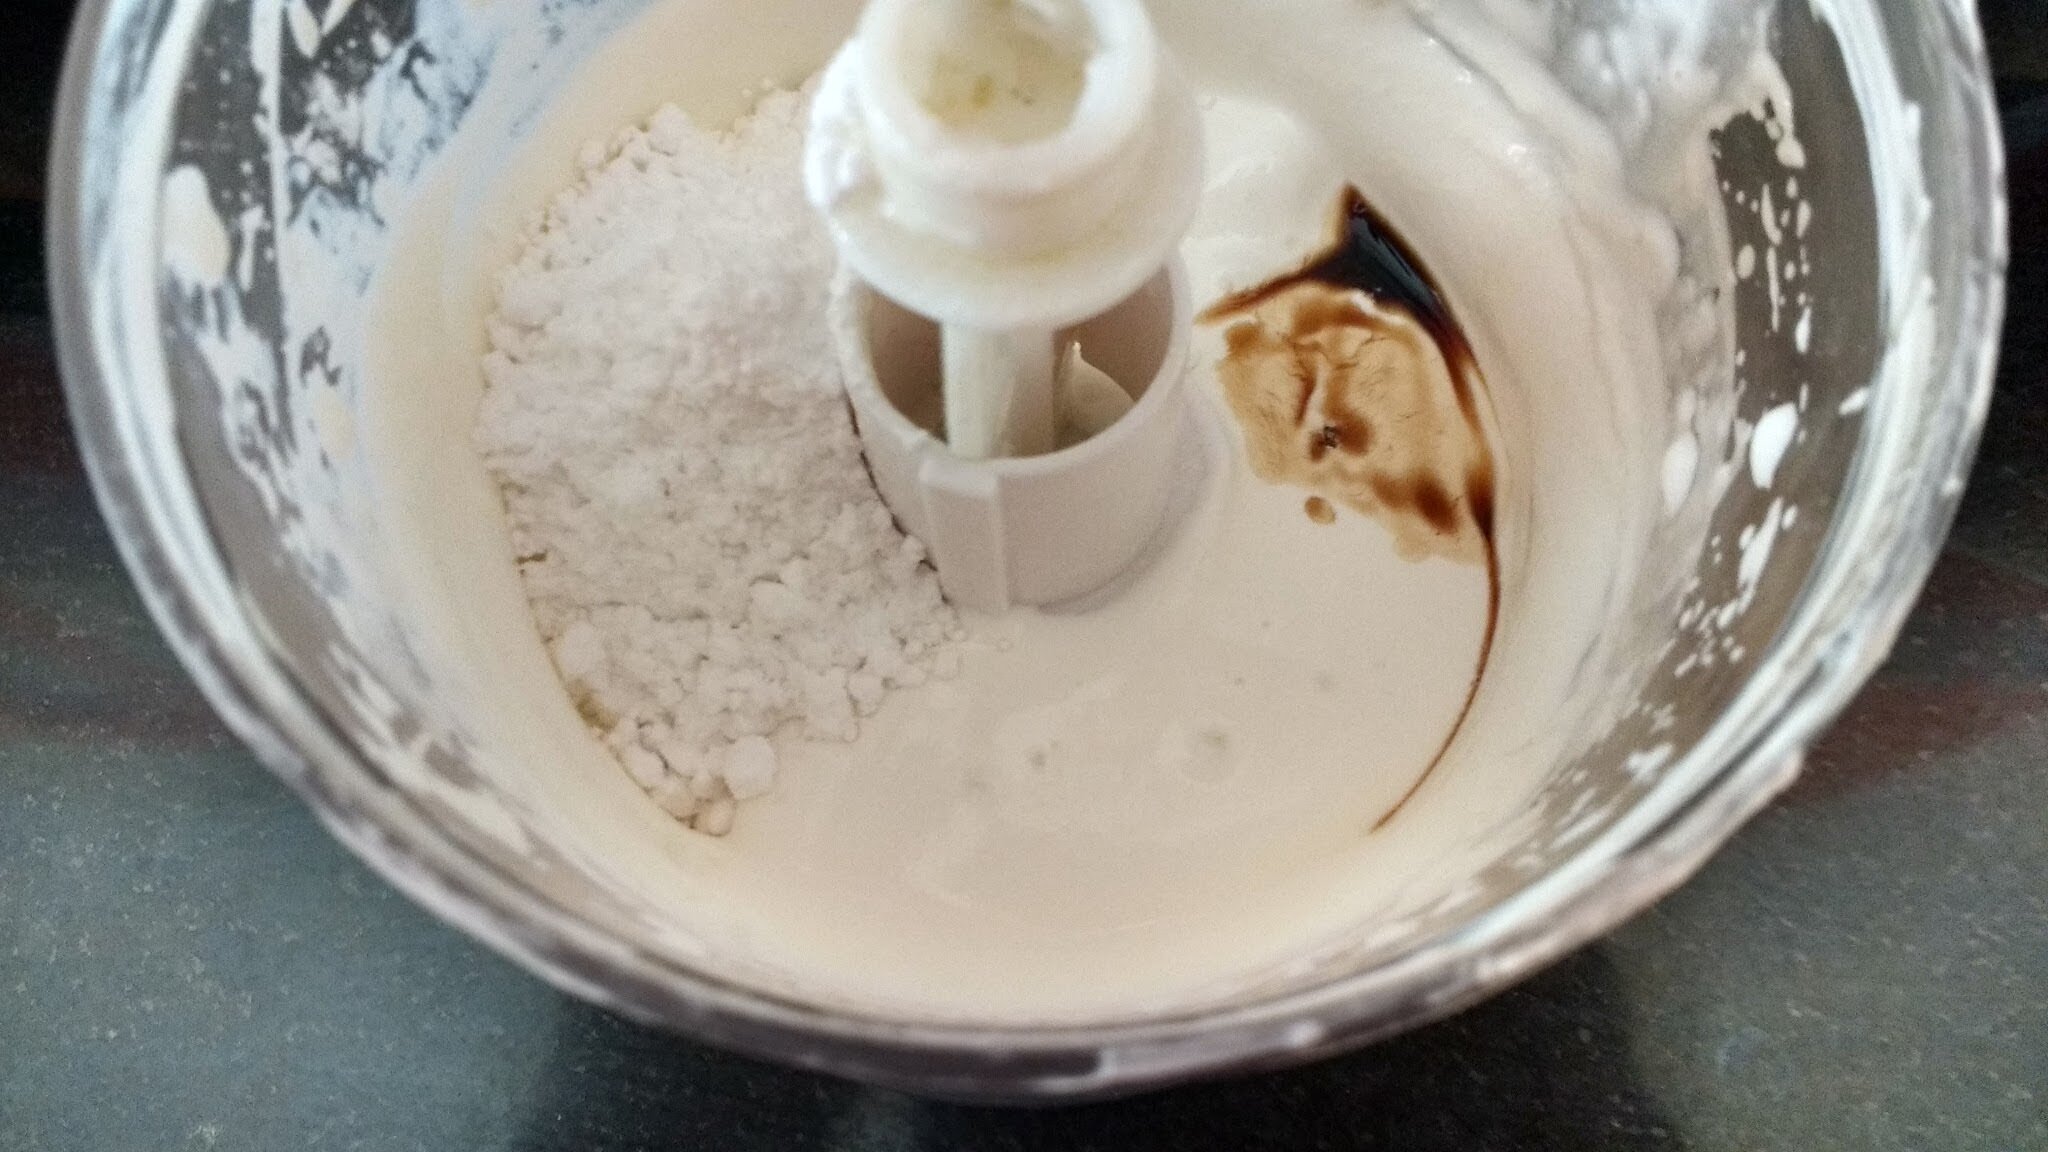
Transfer chilled cream to a bowl. Start whisking it with an electric whisker. As it becomes light in texture, add vanilla & icing sugar. Continue whisking till you get stiff peaks. Taste & adjust sugar as per your taste. Keep it in fridge while we move to next step.
Whipped cream in a bowl.

Step 5:
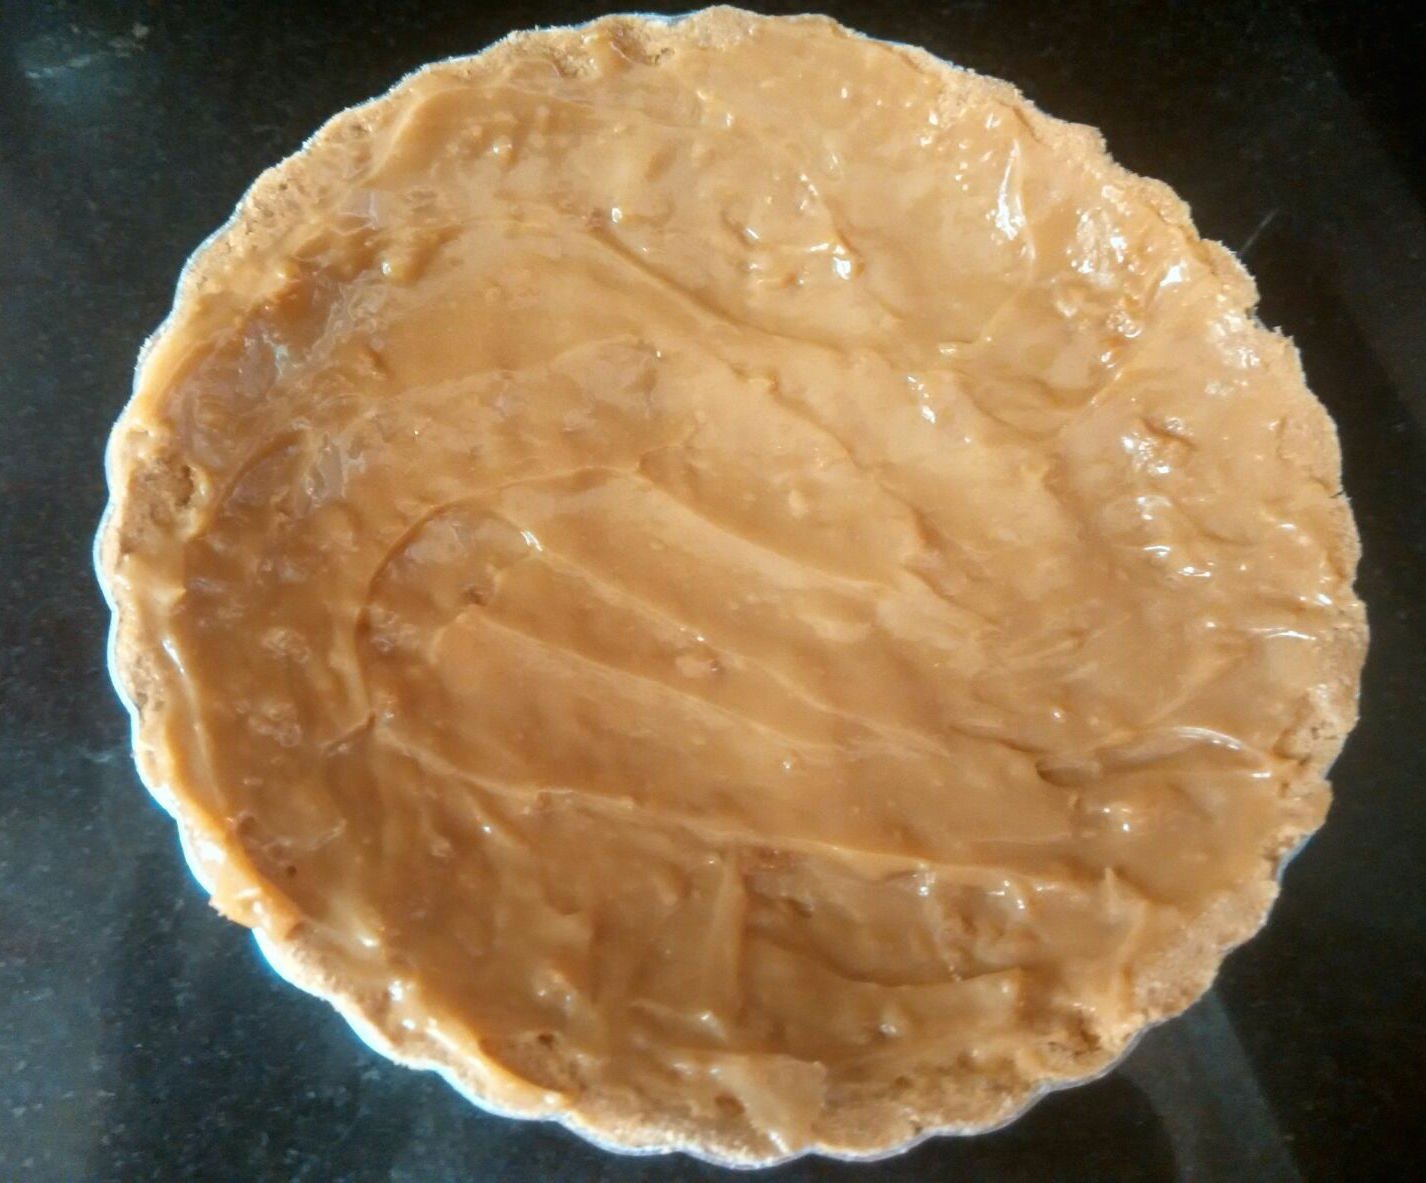
Bring the tart pan out of fridge. Pour dulce de leche over the pie crust and spread with back of a spoon or spatula.
Spreading caramel on no-bake pie crust.

Step 6:
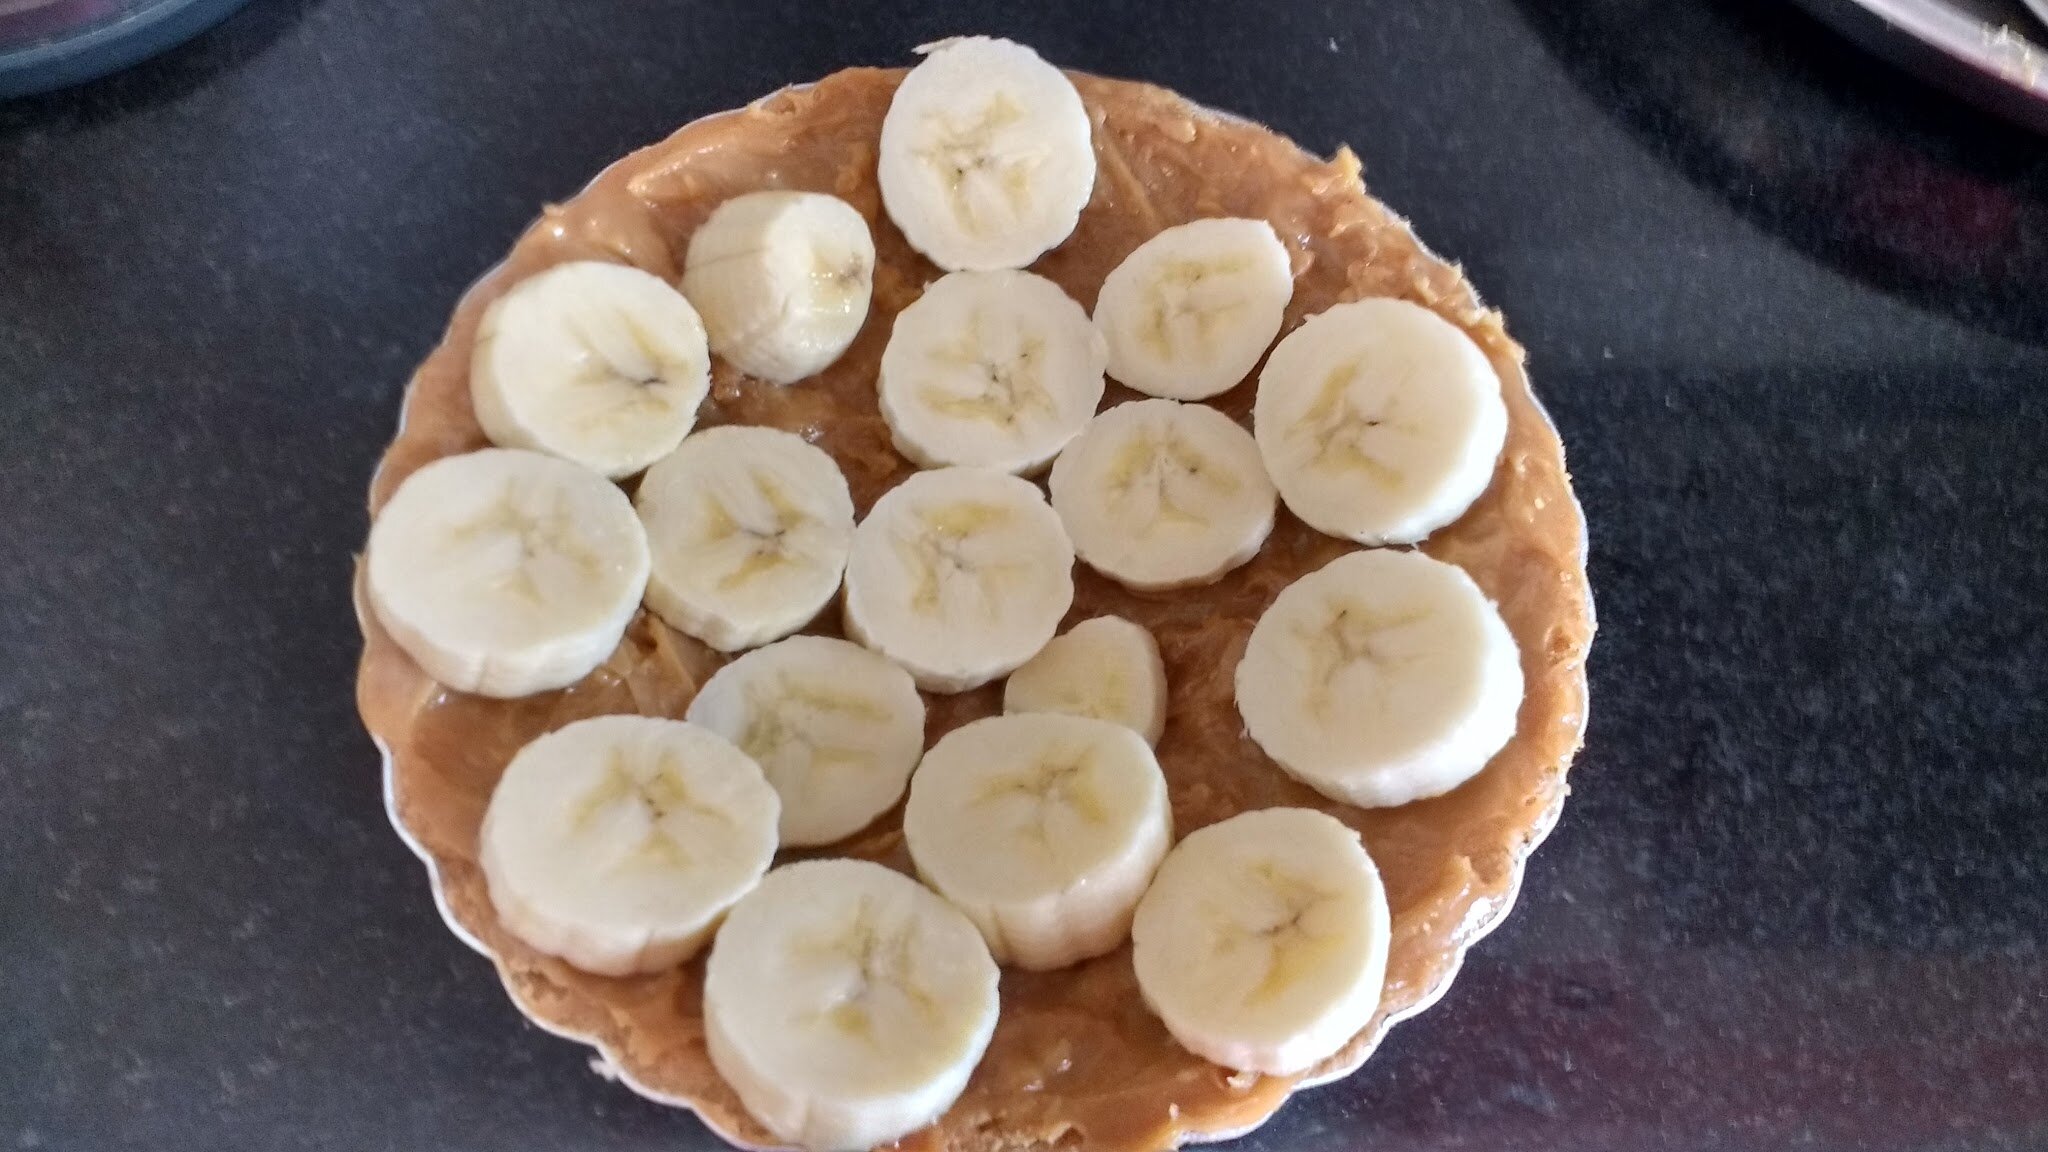
Peel & slice the banana only when you are ready to assemble the pie (to prevent from browning) Arrange them on caramel layer (slight overlapping is fine).
Banana slices on caramel layer.

Step 7:
Scoop the whipped cream over banana slices and spread it roughly with back of a spoon. Dust some cocoa powder or chocolate shavings on top (Use potato peeler to make chocolate shavings). Chill the pie in fridge for 1-2 hrs before serving to set completely. Slice and enjoy!
Spreading whipped cream on banana slices.

How to de-mould pie from tart pan?

Place the banoffee tart pan on top of an inverted glass or bowl. Gently press the outer rim of the tart pan downwards. Transfer the whole pie on a platter on plate (lift it from the pan-base if possible or keep as it is). Use a sharp knife to cut the clean slices.

Storage Instruction- If you want to store the pie in fridge for longer time (2 to 3 days), then cover it with a cloche or store in any container with lid to prevent it from absorbing other odours in fridge.

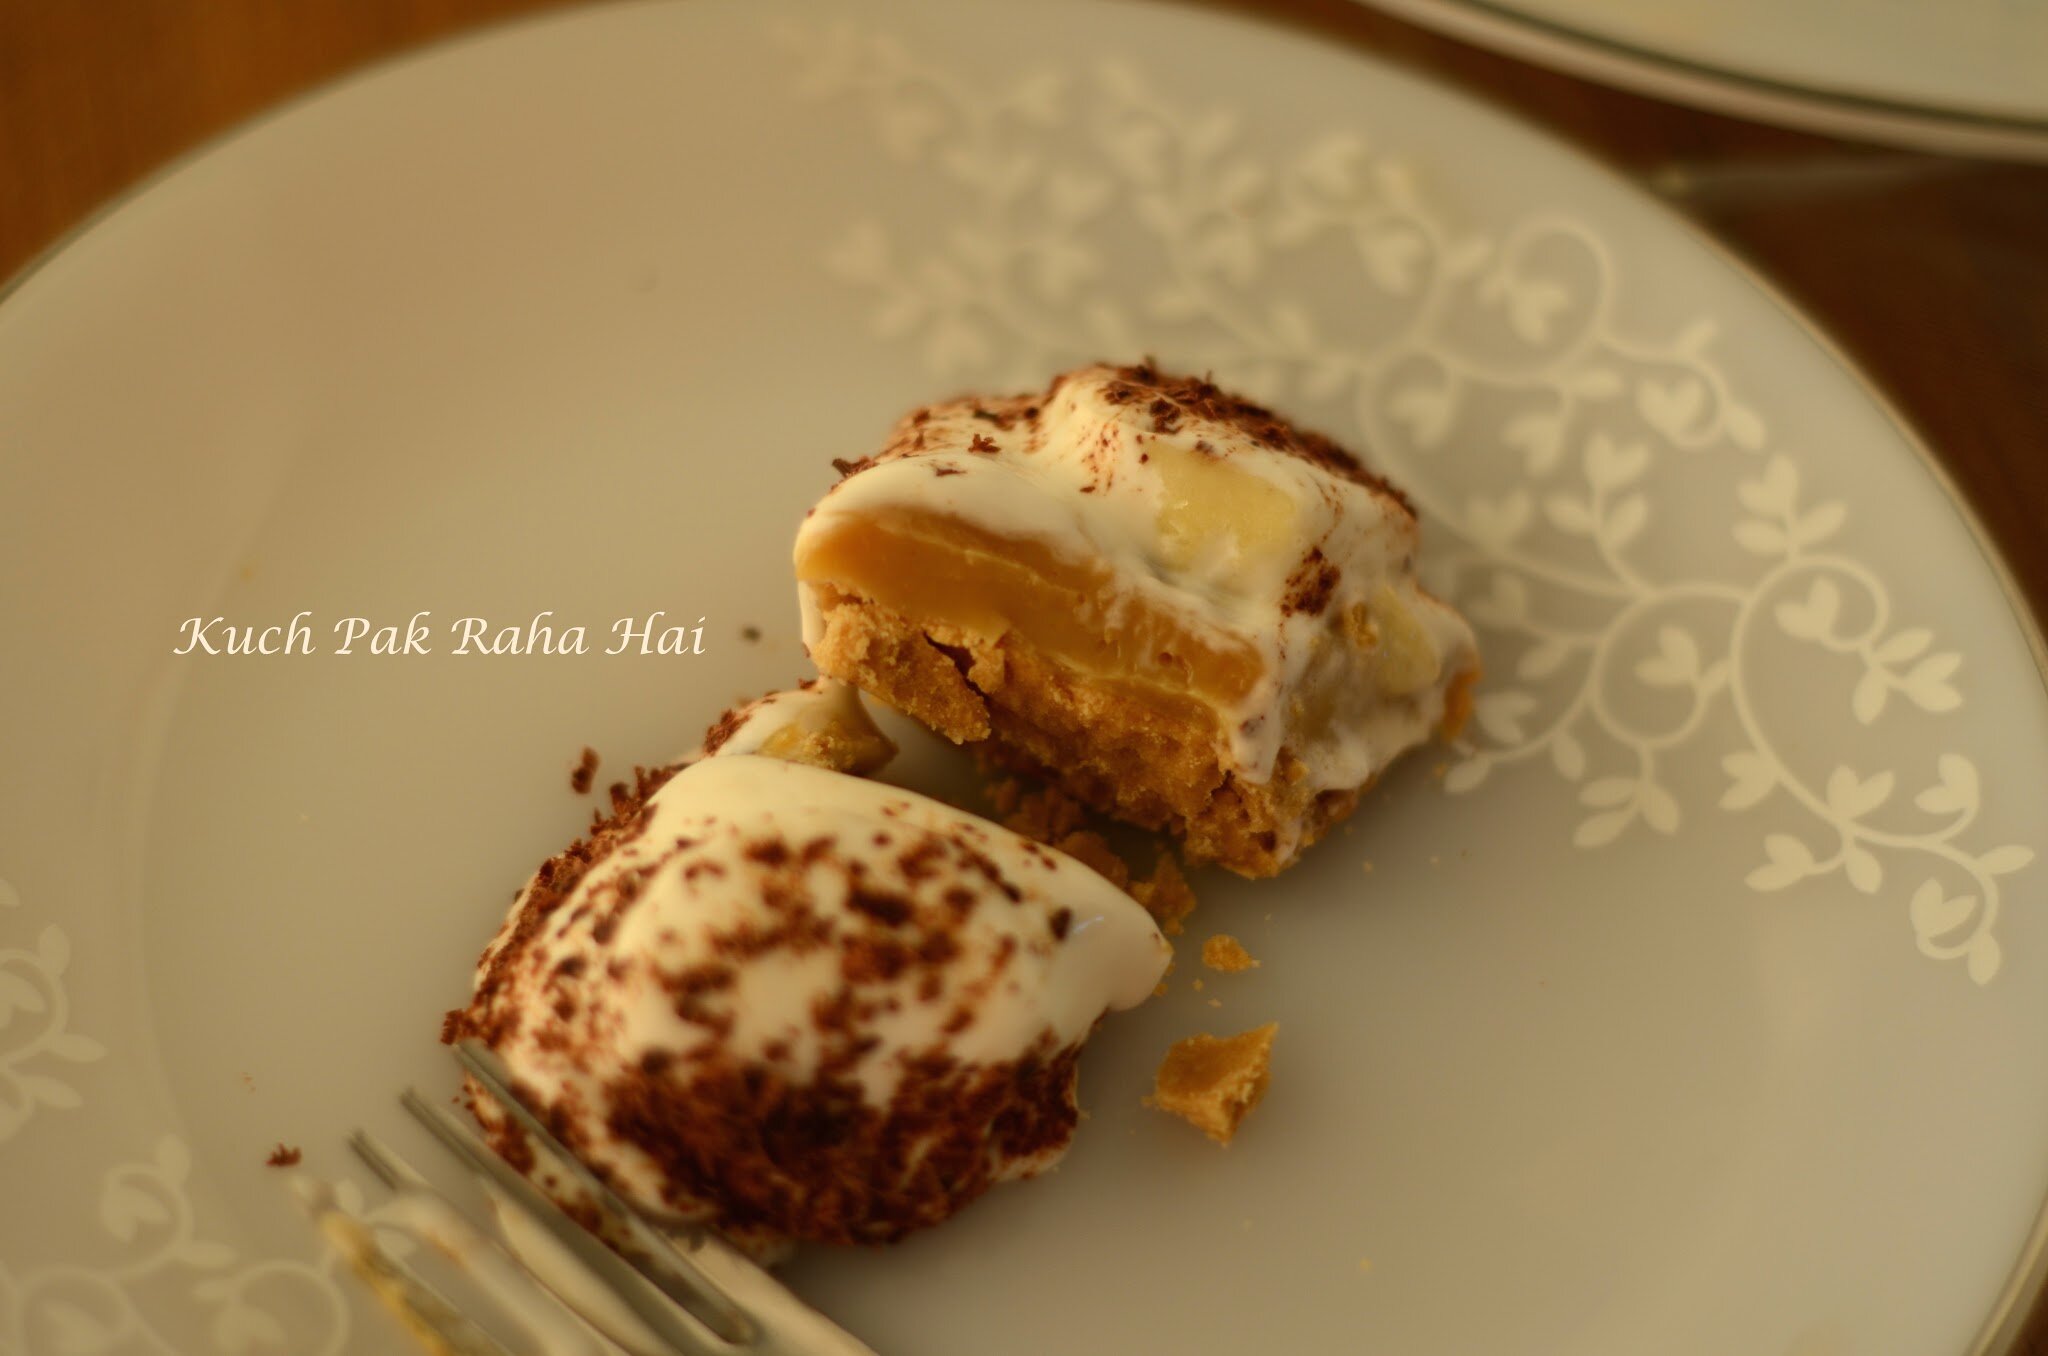
Banoffee pie layers shown after slicing.

Variation:

Chocolate Banoffee Pie – Give a chocolatey twist to this banoffe pie by using oreo for making the pie crust and including chocolate ganache in the filling (refer to strawberry oreo tart recipe). First spread a layer of chocolate ganache on the crust, followed by banana slices, then a layer of dulce-de-leche and finally whipped cream as shown in recipe above.

More easy no-bake dessert recipes:

  • Biscoff Truffles
  • Rose Panna Cotta
  • Mango Cheesecake
  • White Chocolate Fudge

Pin for later:
banoffee pie dessert.

(P.S: The recipe was originally published on 3rd March’2016 & has been updated with better images)

If you try this easy banana toffee pie recipe & share pics on social media, then don’t forget to tag on Facebook, Instagram or use #kuchpakrahahai.

Let’s stay connected
Facebook | Instagram | Pinterest| Youtube


1 Star2 Stars3 Stars4 Stars5 Stars (3 votes, average: 5.00 out of 5)
Loading...
Easy banoffee pie recipe.

Filed Under: Desserts, No Bake Desserts

(Disclaimer: The content above may contain affiliate links. As an amazon associate, I earn from qualifying purchases. Buying from here will not cost you anything extra but I might earn a small commission from it.)

Previous Post: « Batata Vada Recipe (Aloo Vada)
Next Post: Vegetable Poha Recipe (Spiced Flattened Rice) »

Reader Interactions

Leave a Reply Cancel reply

Your email address will not be published. Required fields are marked *

Primary Sidebar

Social Media

Air Fryer Recipes

Black beans and mixed vegetable quesadilla.

Veggie Black Bean Quesadilla

Healthy lauki kofta snacks served with ketchup.

Lauki ke Kofte | Bottle Gourd Kofta (Low Oil)

Soya kabab recipe.

Veg Seekh Kebab | Soya Kabab (air fryer)

Indian style stuffed tomatoes with gravy.

Stuffed Tomatoes (Air fryer or Stovetop)

Apple and brie sandwich recipe.

Apple Brie Sandwich

Crispy karela recipe with onions.

Crispy Karela Fry (Bitter melon recipe)

More recipes

Global Cuisine:

Rose Panna Cotta.

Rose Panna Cotta (with agar agar)

No Bake Mango Cheesecake Eggless Recipe

No Bake Mango Cheesecake (Eggless)

Mexican Quinoa Salad Recipe

Mexican Quinoa Salad

Vegetarian Shepherd’s Pie (Cottage Pie)

More recipes

About Author Divya Jain

Hi, I'm Divya! Welcome to 'Kuch Pak Raha Hai'- your guide to hearty, comforting, delicious vegetarian & vegan recipes. My ...

Read More

Copyright © 2025 www.KuchPakRahaHai.in