

Masala Arbi is a tasty humble Indian dish made with arbi (or colocaasia) stir fried with spices. It is easy, quick to make and can be enjoyed with roti, paratha or as side dish with day to day meals.
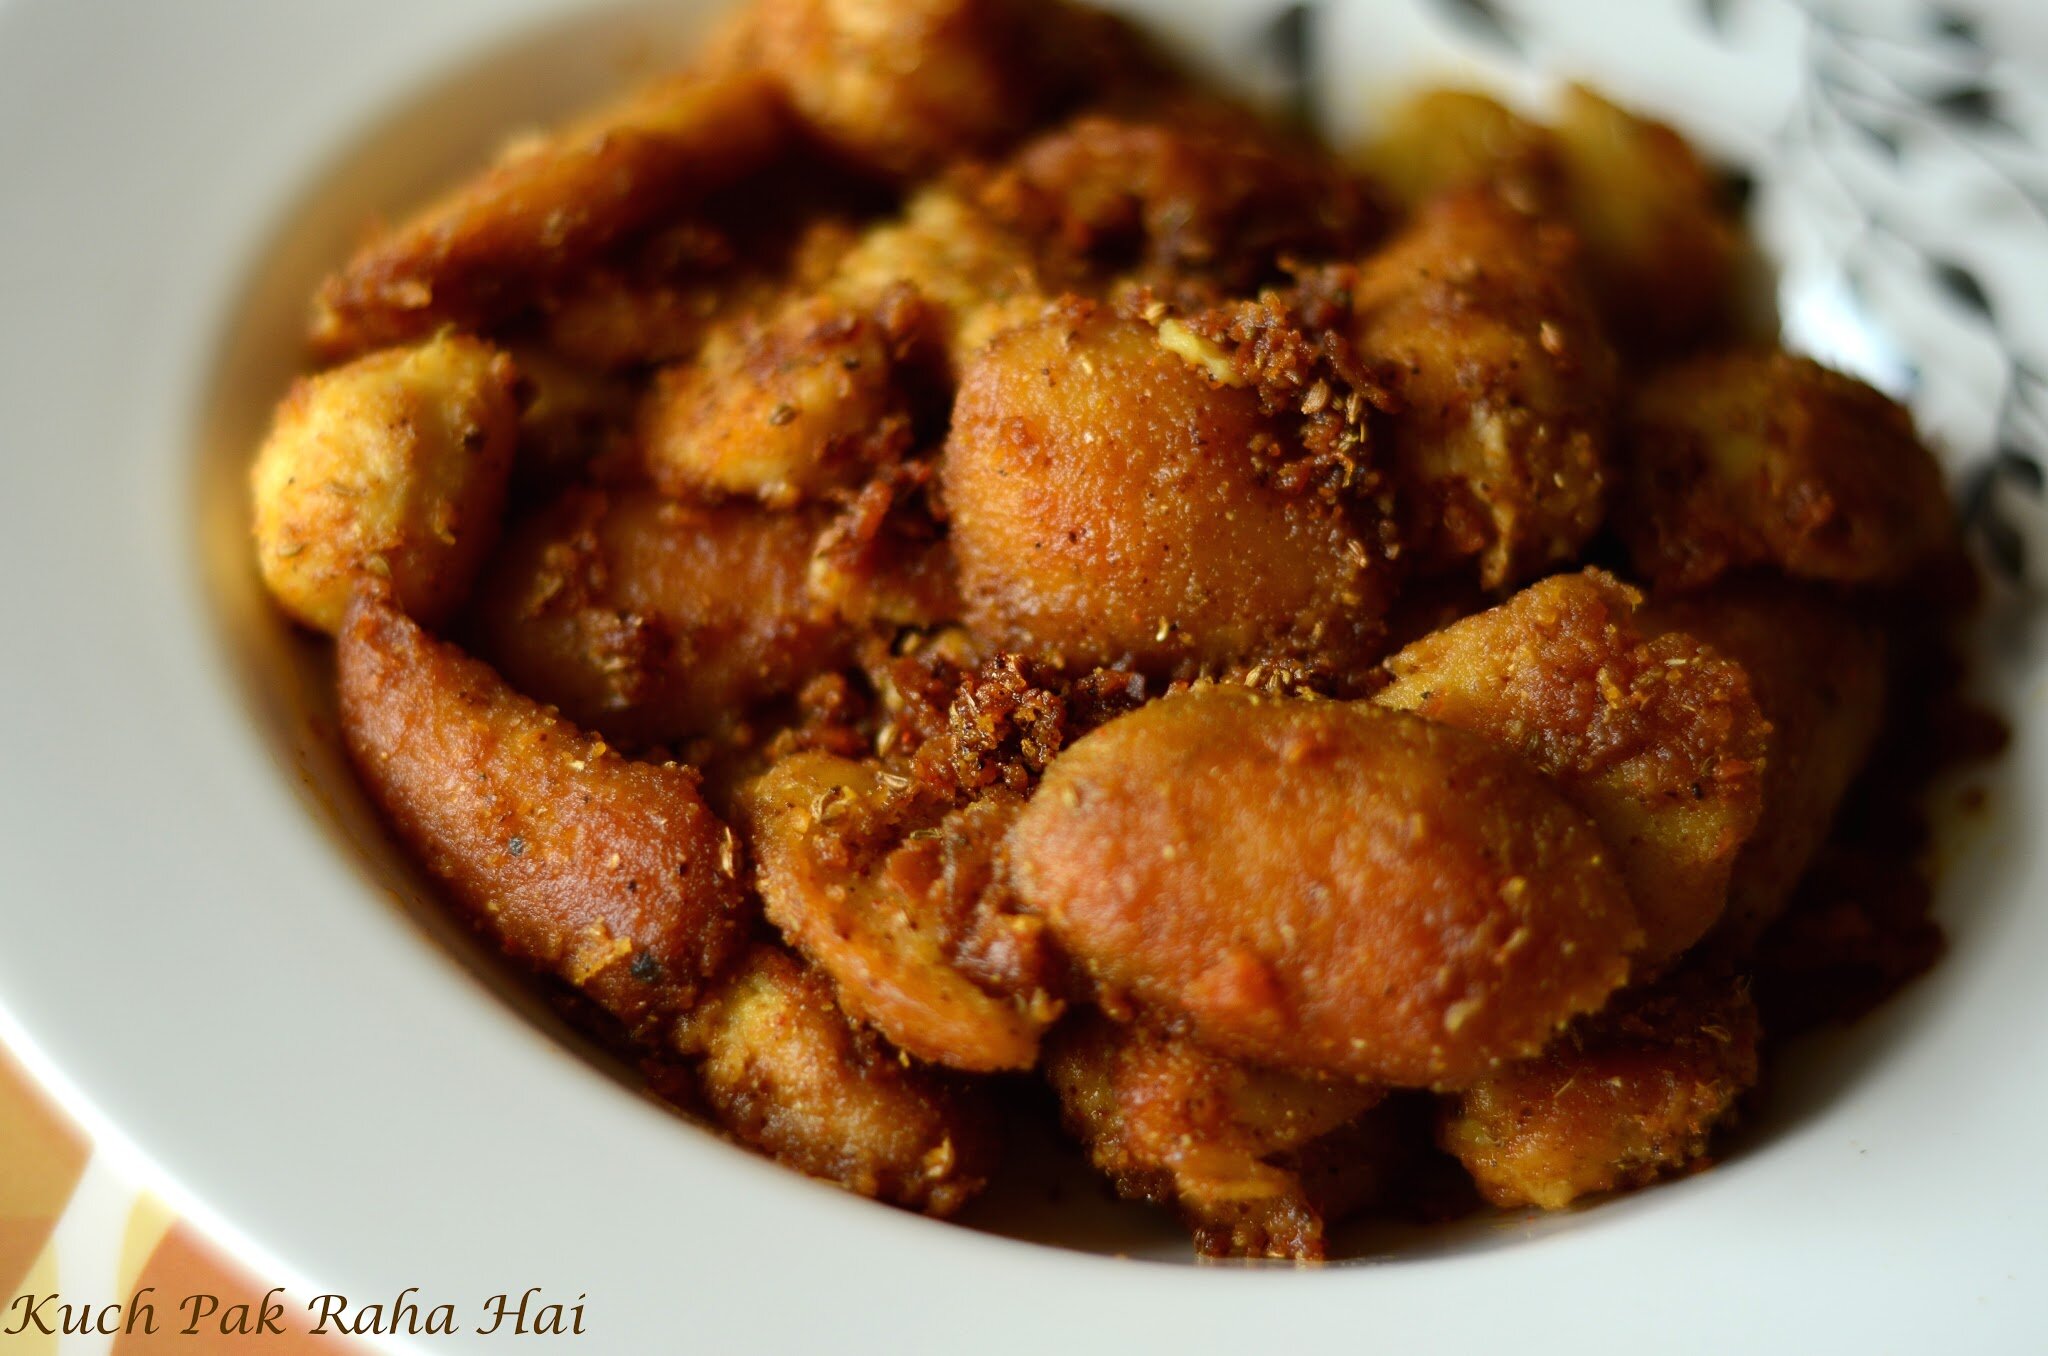
As it is made without any gravy, it is also commonly called ‘Sookhi arbi’ (sookhi mean dry). The recipe is vegan, vegetarian an gluten free.
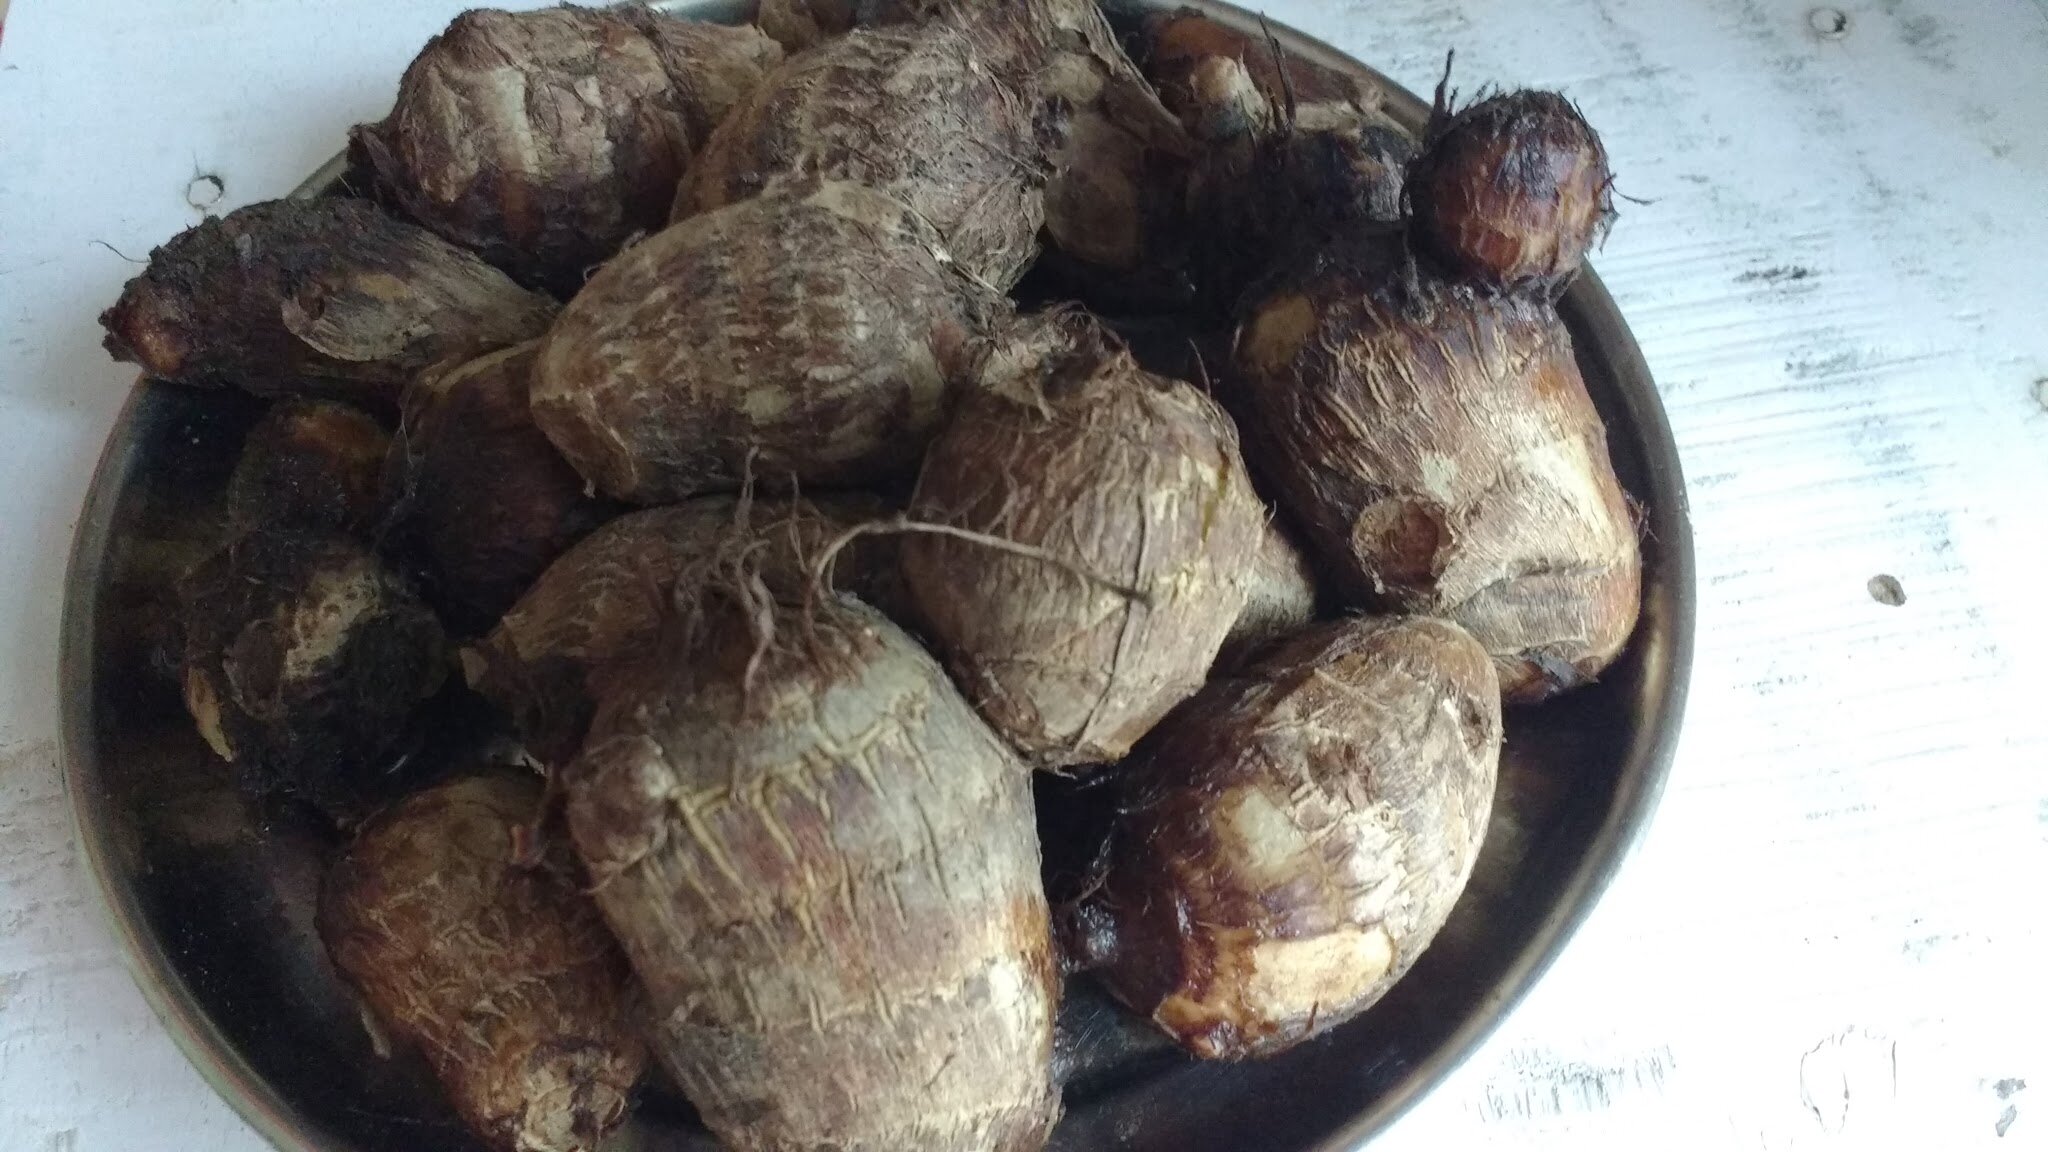
Arbi or Arvi is one of the most commonly cooked vegetables in Indian homes. It is also known my other names like “Colocasia root” or “Taro root”. There are so many recipes that can be made using this vegetable. Some of the varieties that I have tasted are Arbi in Tomato gravy, Dry Arbi with Peas, Jeera Arbi and Fried Masala Arbi. Fried Masala Arbi or Sookhi Arbi is one my favourite variant and I am going to share its recipe today.
It is a delicious Colocasia recipe which is crisp from outside and soft inside. This dish is a wonderful accompaniment to any of your main dishes. Infact, when sometimes I am feeling too lazy to cook for myself I just make this dish and enjoy it as an evening finger snack. In this recipe, Arbi is fried in mustard oil which gives it a distinct aroma and enhances its flavour. You can add or reduce the spices in this dish as per your taste.

Similar vegetable side dishes you might like to try:
- Stuffed Capsicum Rings
- Jeera Aloo (Cumin Potatoes)
- Aloo Gobi (Potatoes Cauliflower)
- Baingan Ka Bharta (Eggplant Mash)
- Aloo Beans (Potatoes & French Beans)
Ingredients:
- Arbi – 500 grams
- Mustard Oil – 1/4 cup (For frying)
- Salt – To taste
- Carom seeds(Ajwain) – 3/4 tsp
- Coriander Powder – 2 tsp
- Red Chilli Powder – 1/2 tsp
- Dried Mango powder (Amchoor) – 1/2 tsp
- Asafoetida – A pinch
Directions:
Step 1:
Wash the arbi pieces thoroughly to remove all the soil particles or dirt. Boil Arbi in a pressure cooker till it is soft & tender. It generally takes two whistles and ten minutes on low flame. After opening the pressure cooker, poke it with a knife. If the knife easily goes through the Arbi it is boiled, else cook it for 1-2 whistles more.
Step 2:
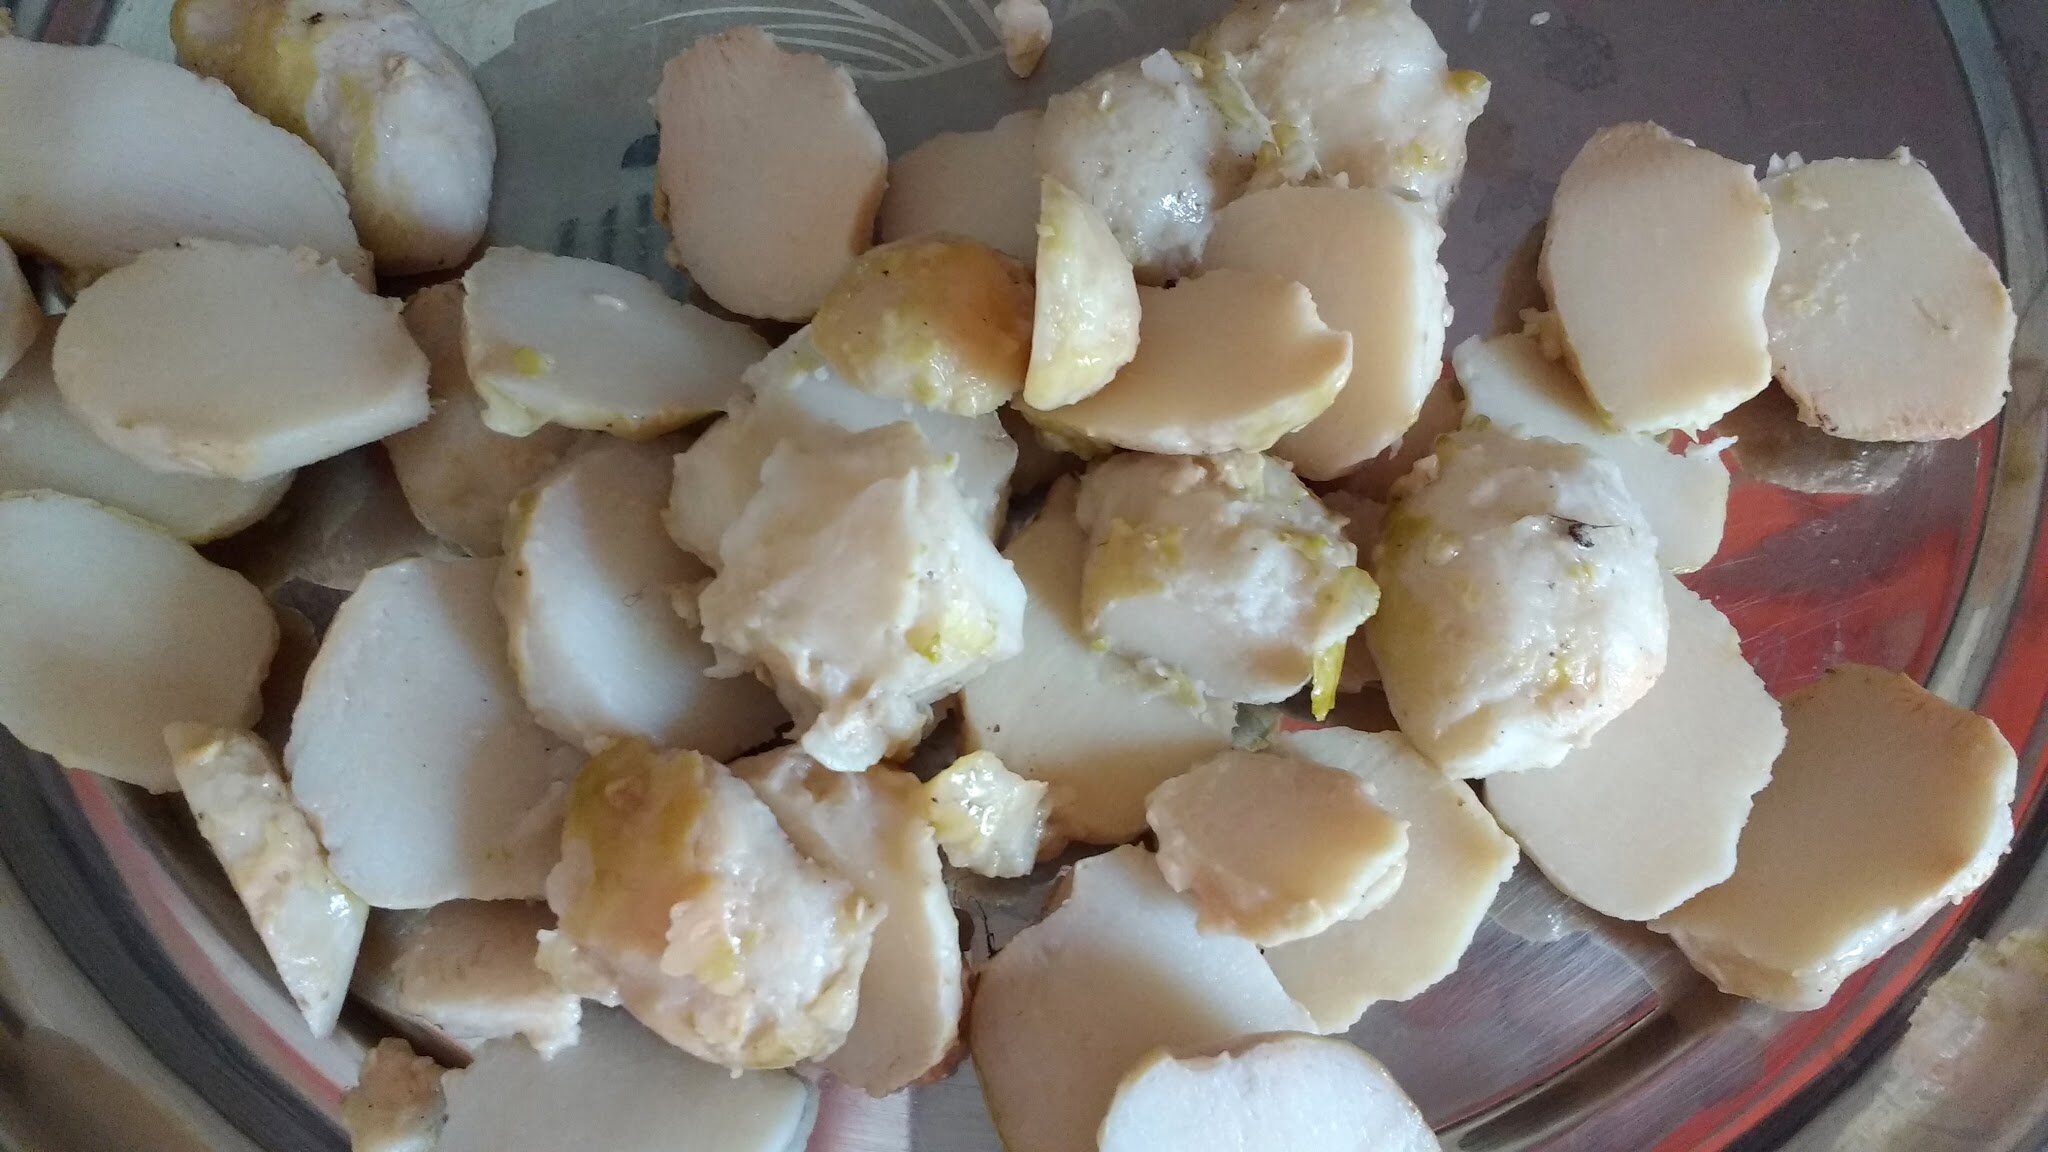
Peel and slice it them in medium thickness pieces.
Step 3:
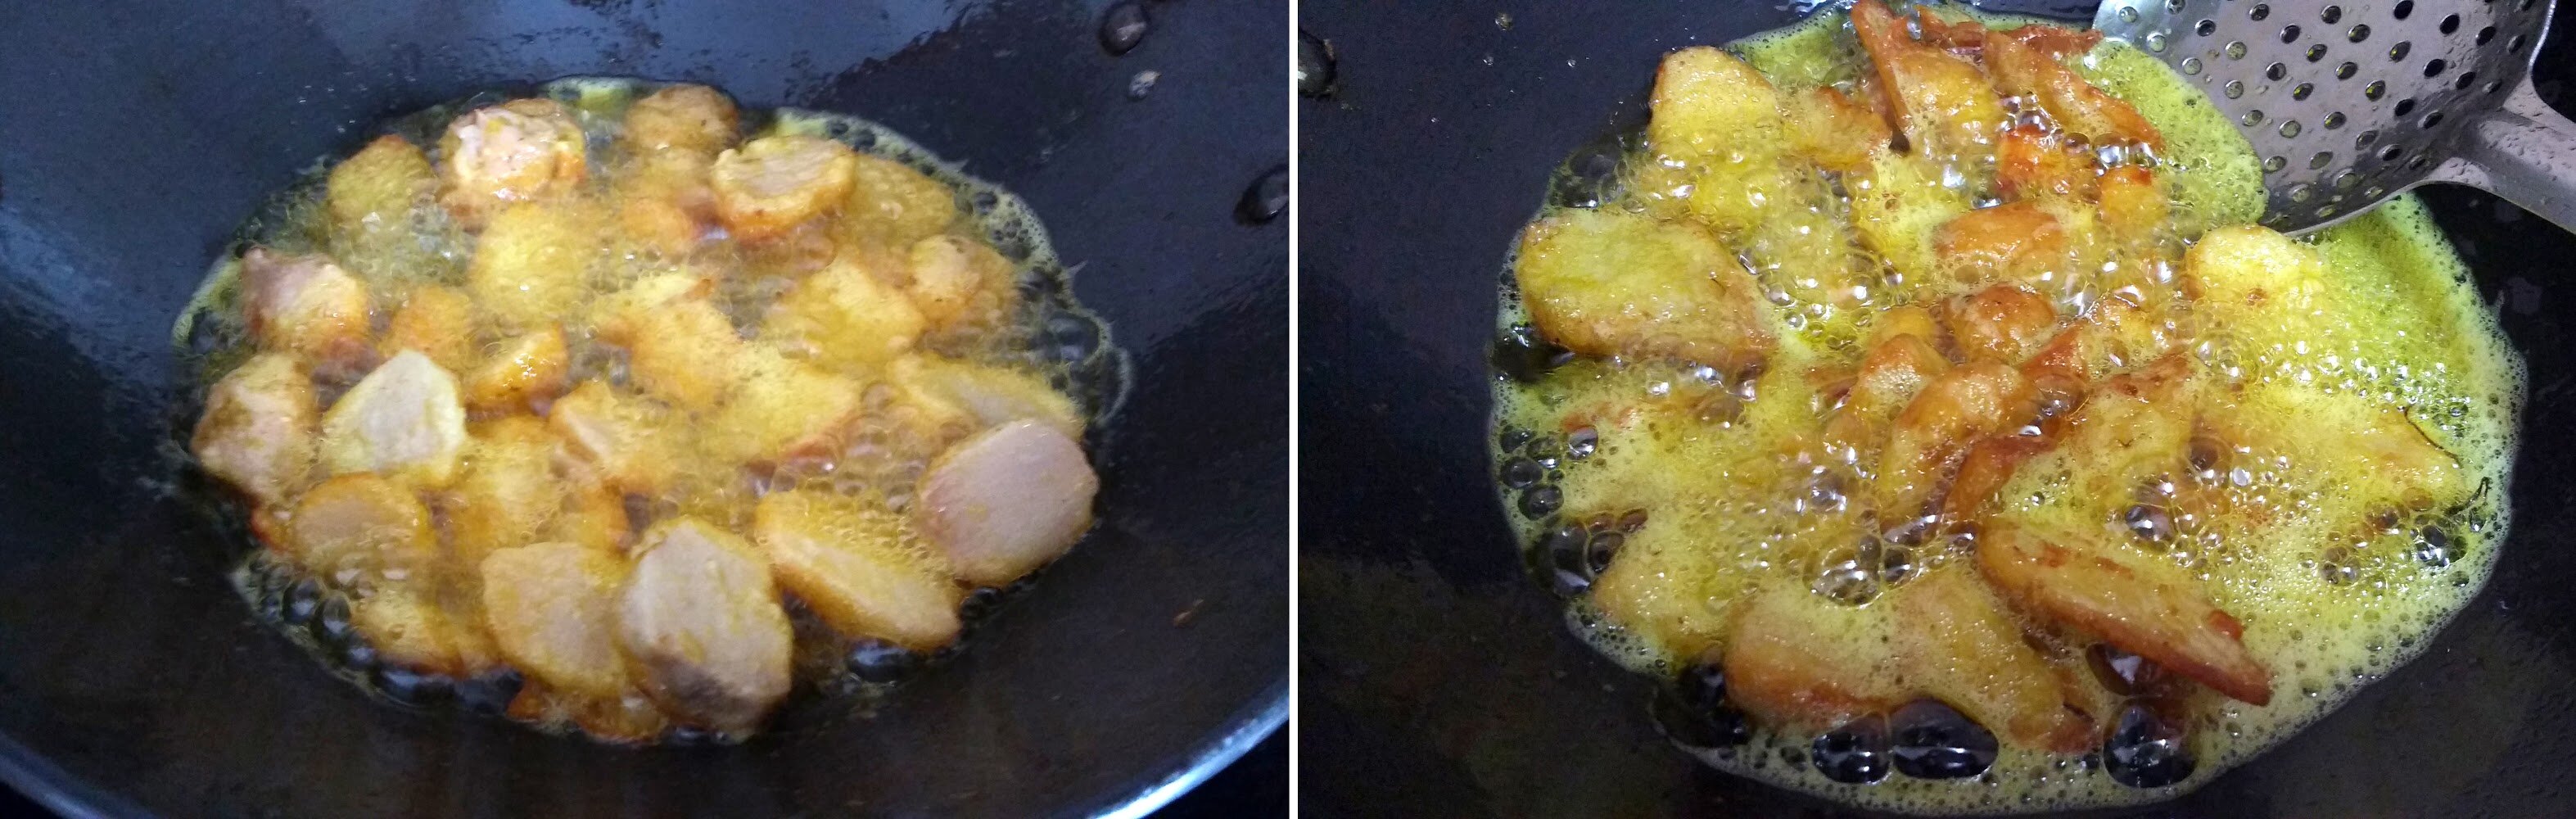
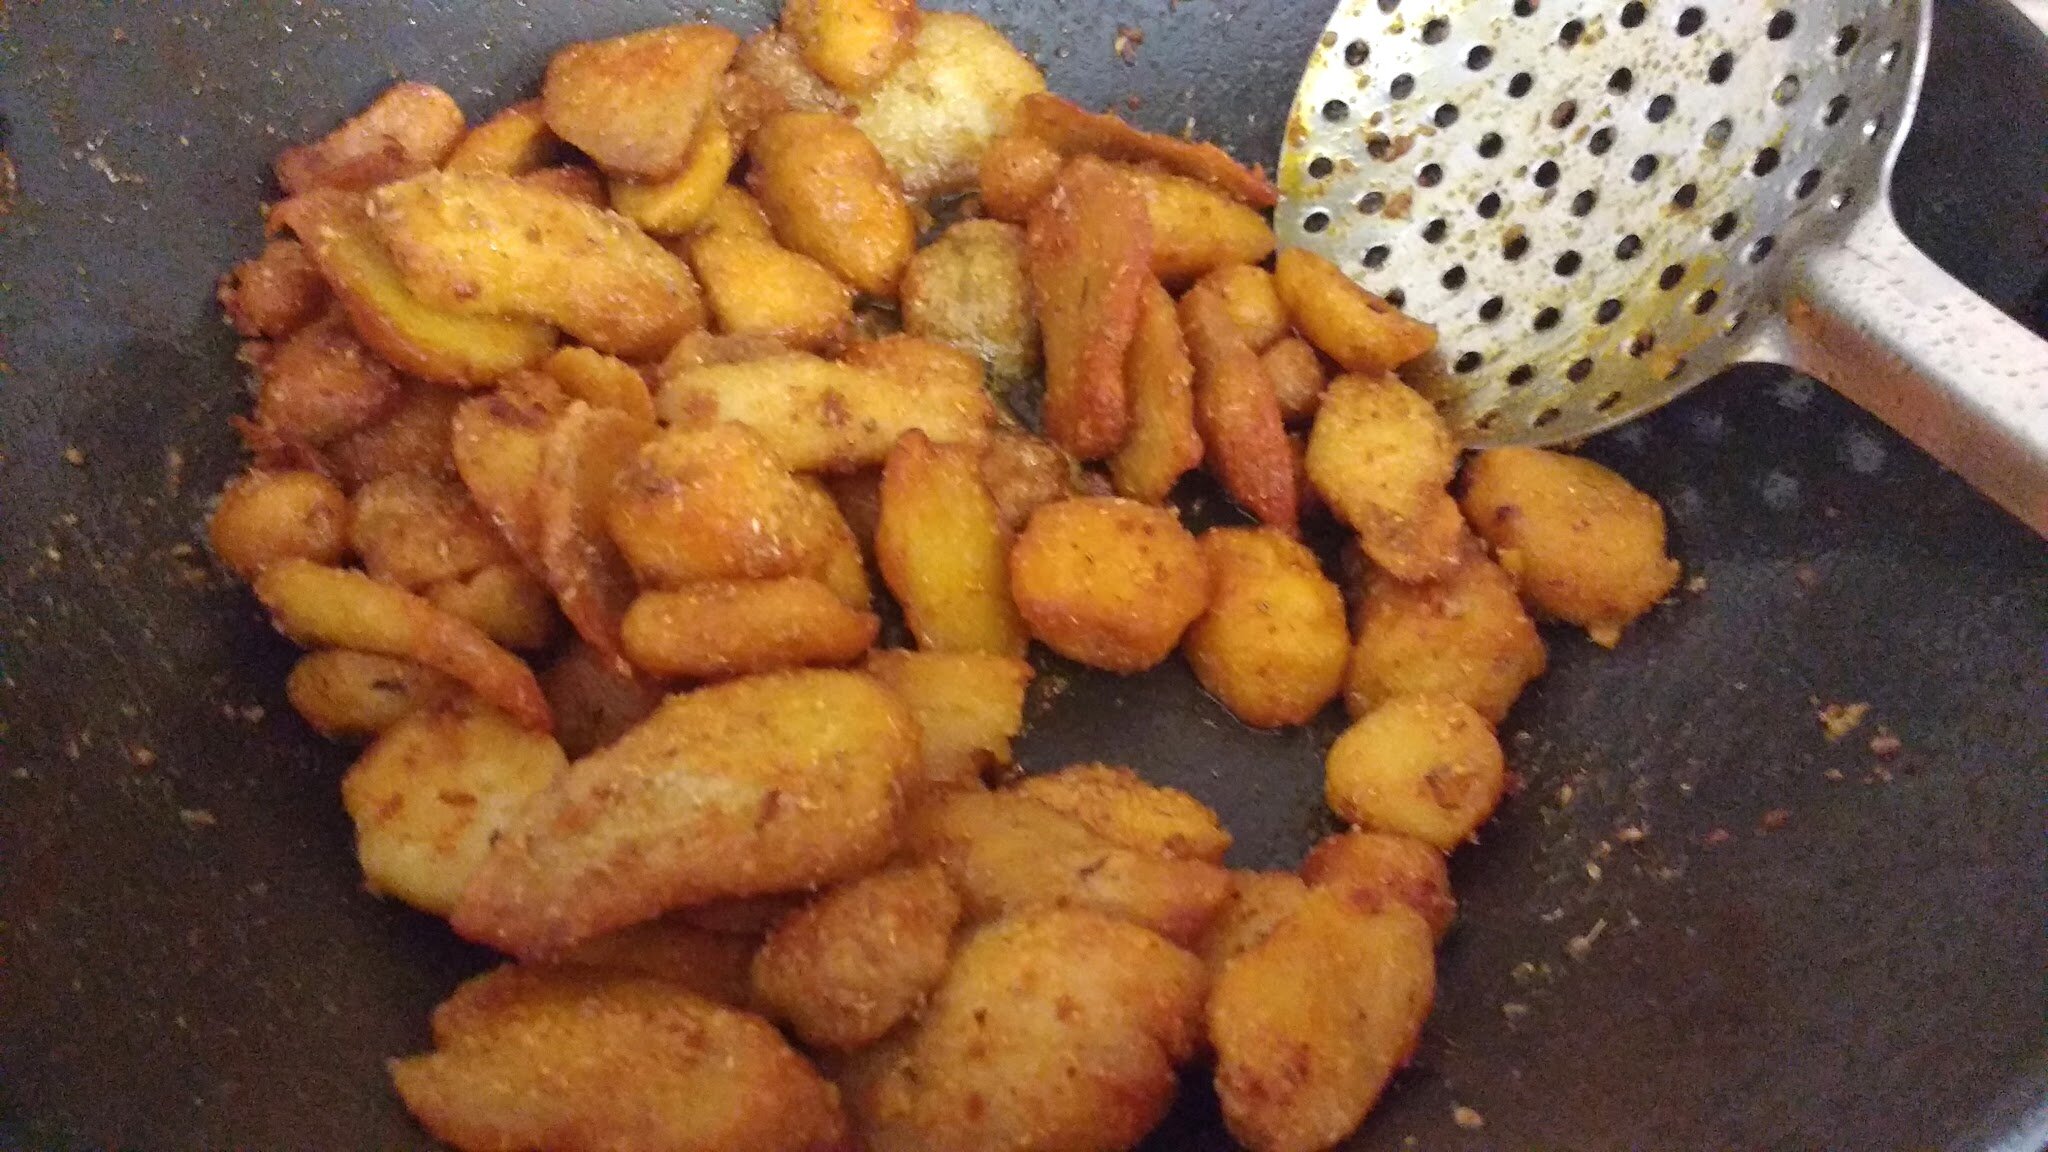
Heat mustard oil in a heavy bottomed pan. Add the Arbi slices to it. Do not stir it immediately although you may feel like it has stick to the bottom of the vessel. Keep the flame initially on high and once the browning has started slow down the flame to medium. Keep stirring it intermittently so that all pieces are evenly cooked and crisp from outside.
Step 4:
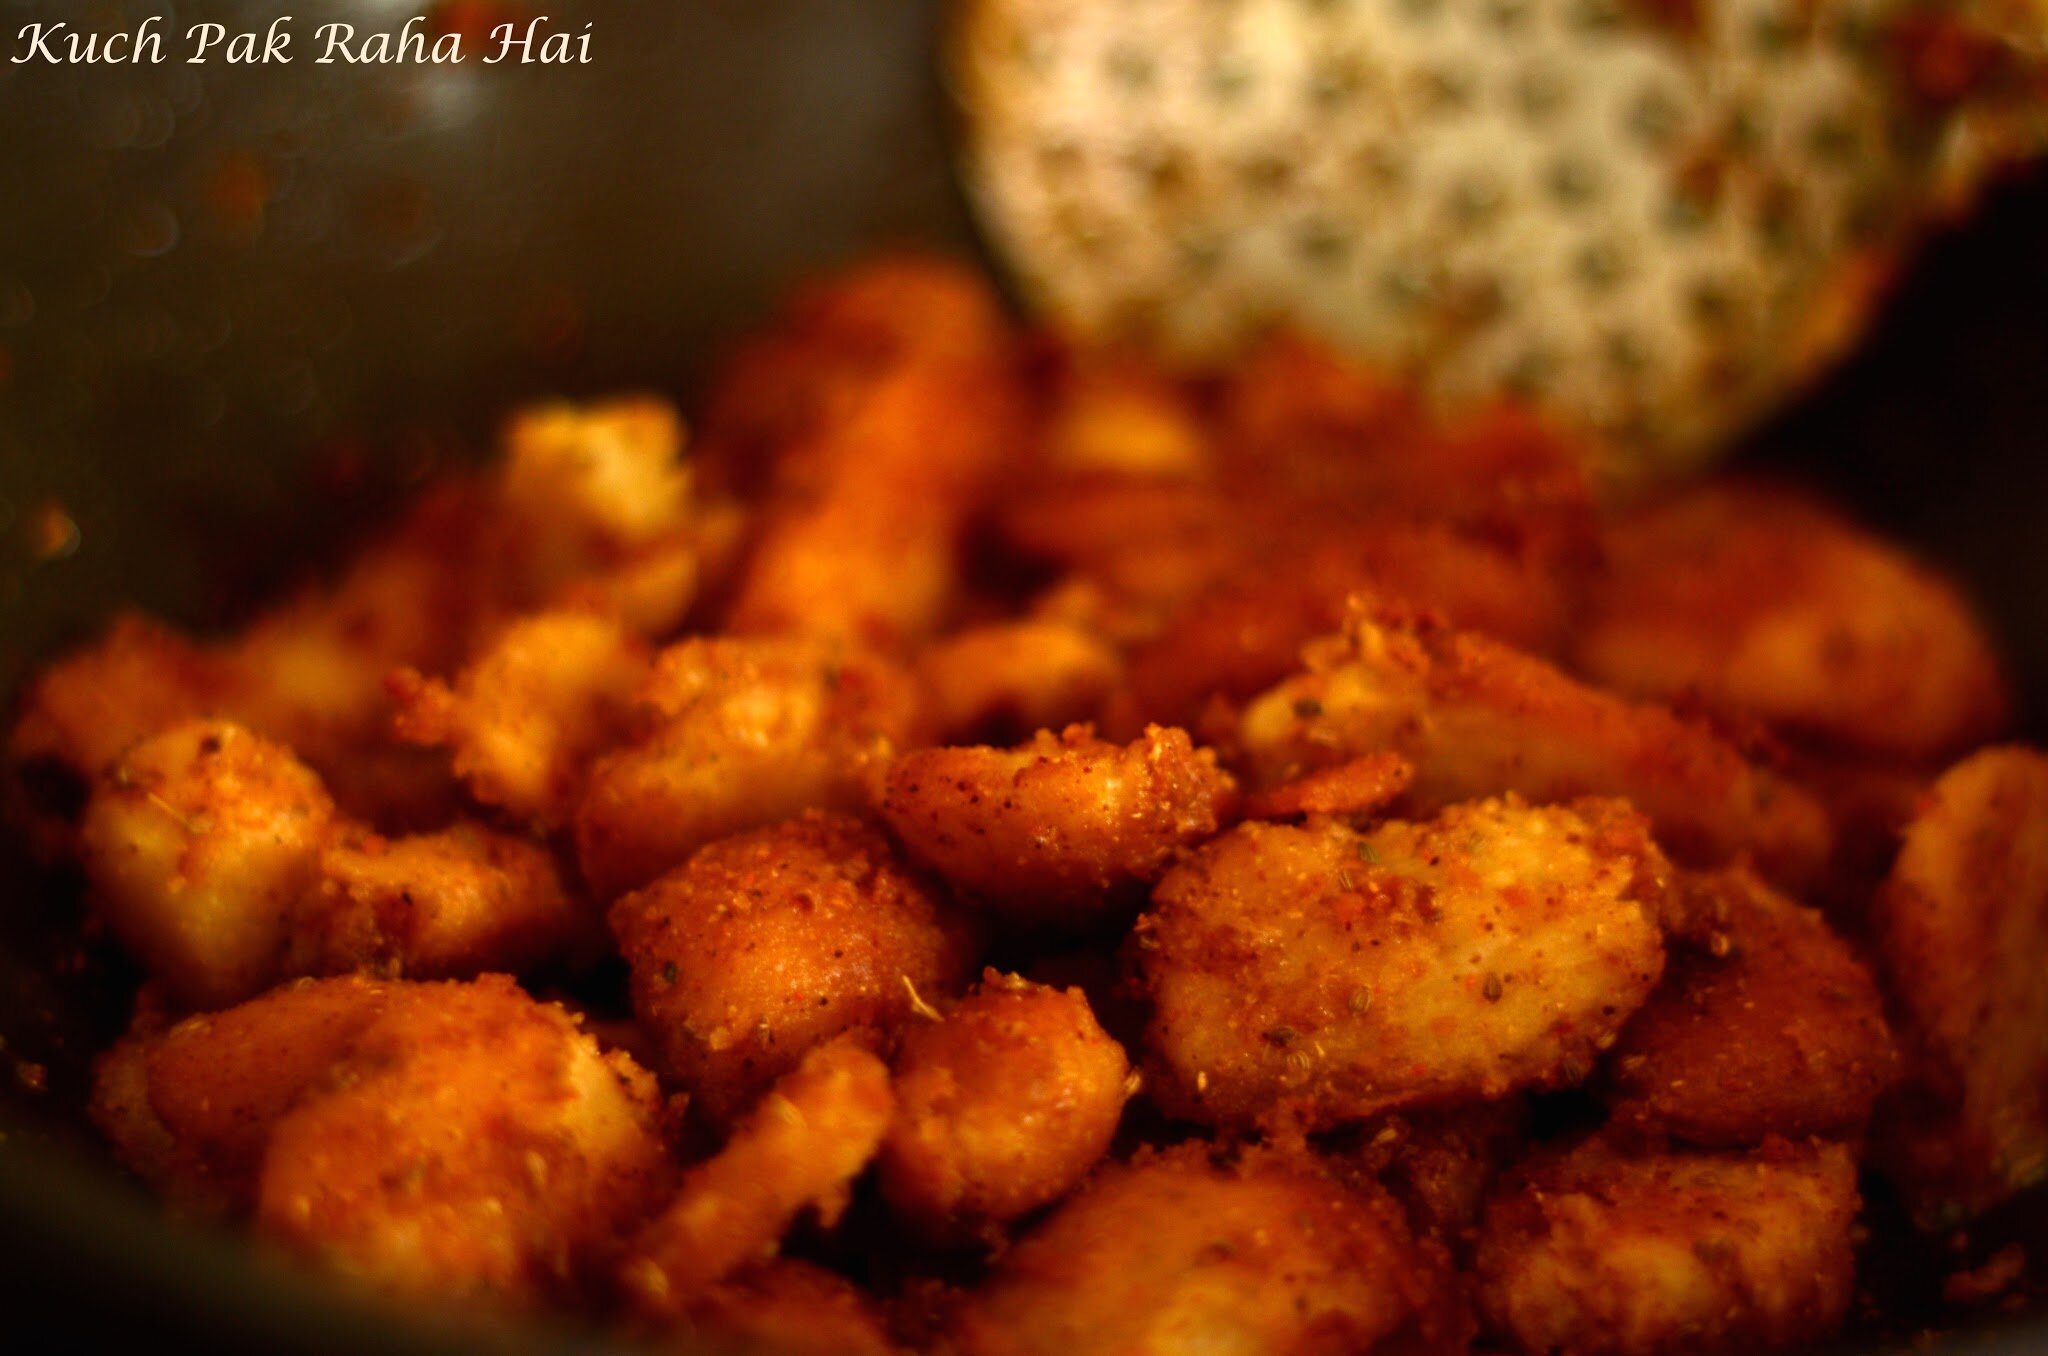
Once the frying is done, drain out the excess oil from the pan using a spoon or by tilting the pan carefully. Add asafoetida, carom seeds, coriander powder, red chilli powder, dried mango powder and salt to it. Stir gently. Let the masala Arbi cook on low flame for desired browning.
Enjoy Fried Masala Arbi or Sookhi Arbi as a side dish along with your Dal & Chapatis!!
If you try this arbi recipe & share pics on social media, then don’t forget to tag on Facebook, Instagram or use #kuchpakrahahai.
Let’s stay connected
Facebook | Instagram | Pinterest| Youtube
 (1 votes, average: 5.00 out of 5)
Leave a Reply